Categotry Archives: instructions

6

REPLACE Pfaff pedal

by

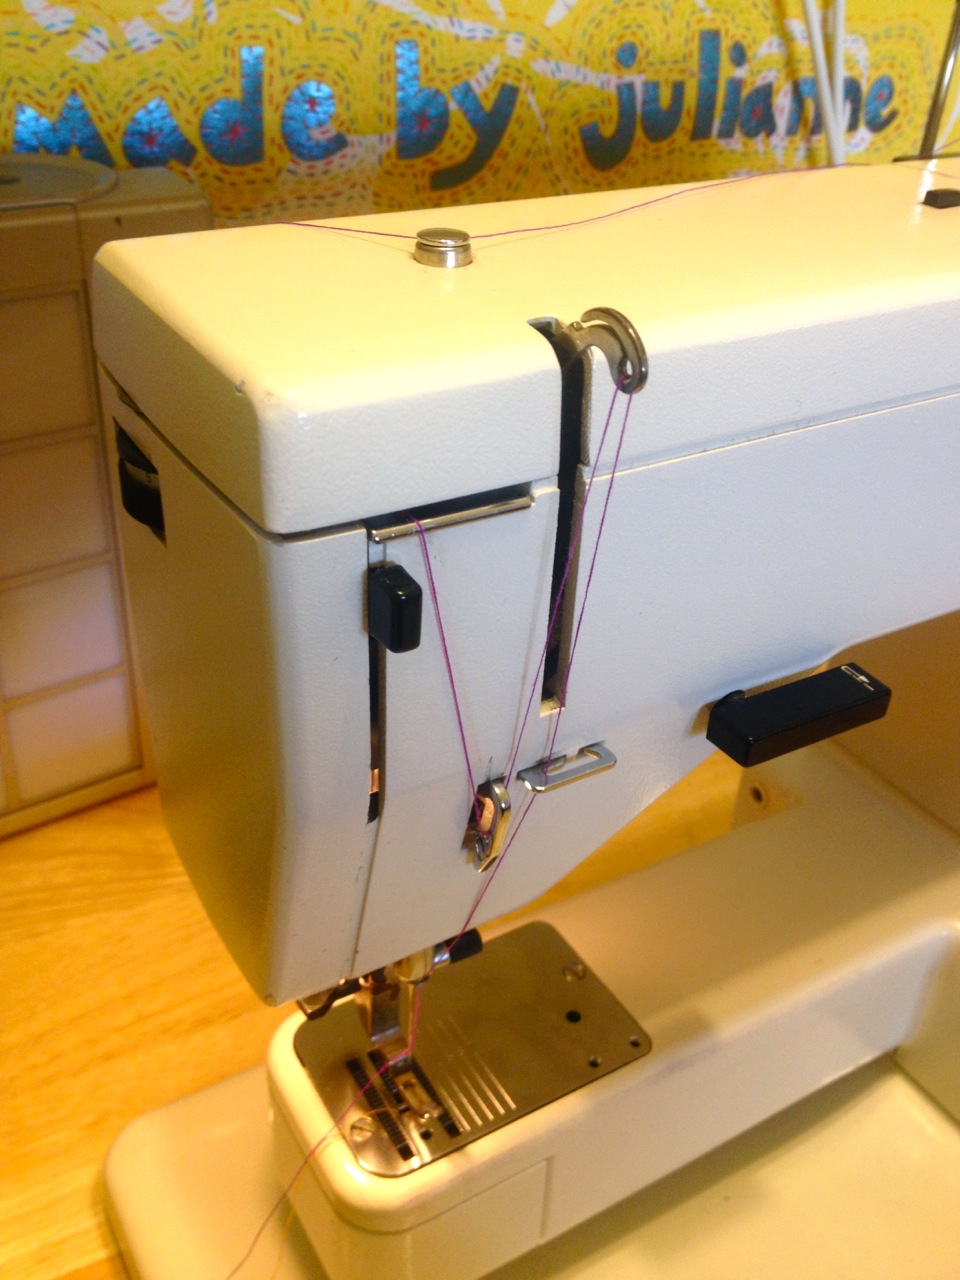
Every once in a while I’d have an issue with my Pfaff 1222E. It usually happened when I was sewing curtains. Heavier fabric, long straight seams, pressing on the control pedal consistently for 10 foot hems. When I took my foot off the pedal the machine would keep sewing! Even more distressing, it would speed up like a little German devil. The only way to stop the madness was to hit the power button.

I’m not the only one who occasionally got a runaway sewing machine. It’s scary, and seemed like an expensive fix. The foot pedal and power outlet are on the same plug, and this part costs $80+ on Ebay! But my wiring was fine, it was just the pedal that was going nuts.

I tried to repair the pedal, but when I opened it up a tiny little resistor cracked and fell off. I confirmed with my electrical-genius friend that this was probably the problem, but we couldn’t really think of an easy way to fix this. The solution seemed to be replacement! (Another solution can be to clean lint out of the pedal, but that wasn’t my problem this time).
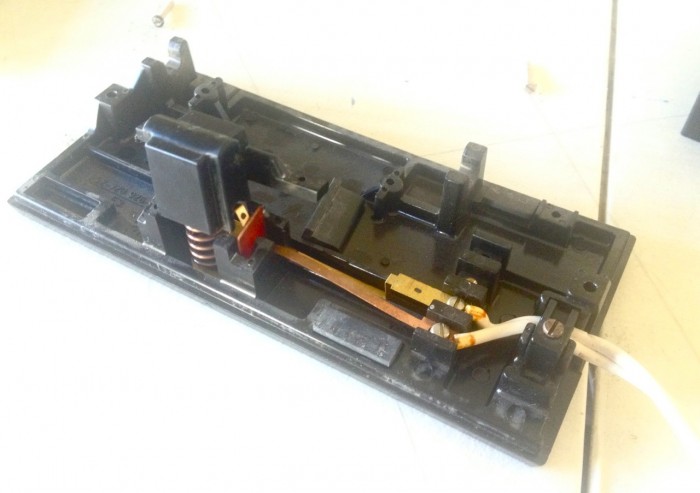
Inside the pedal

Inside the pedal

When you press on the pedal, this spring is what's moving.

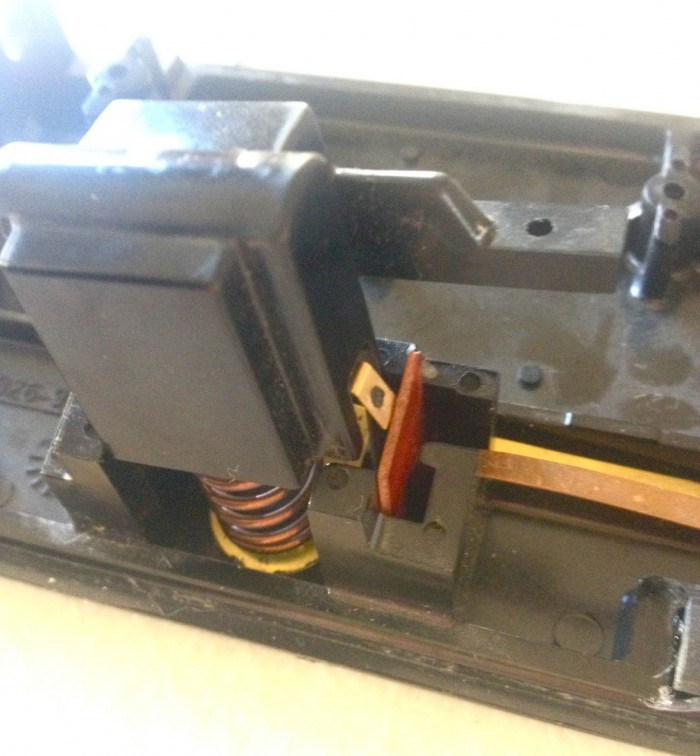
When you press on the pedal, this spring is what’s moving.

There should be a tiny black bump on the left of the gold piece.

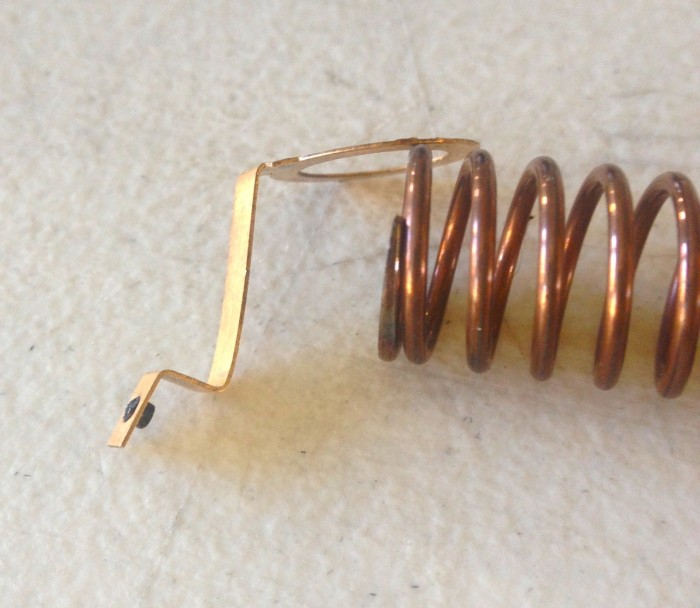
There should be a tiny black bump on the left of the gold piece…

I tried to find the same Pfaff pedal ($80+ online), or at least a white one, but in the end I bought a Singer from the 80s for $15 and just cut off the pedal. Stripped the wires on the Singer and Pfaff pedals, and spliced them together. It works great now! Brian has created a video documenting his process, but it really is as easy as that!

pfaff pedal

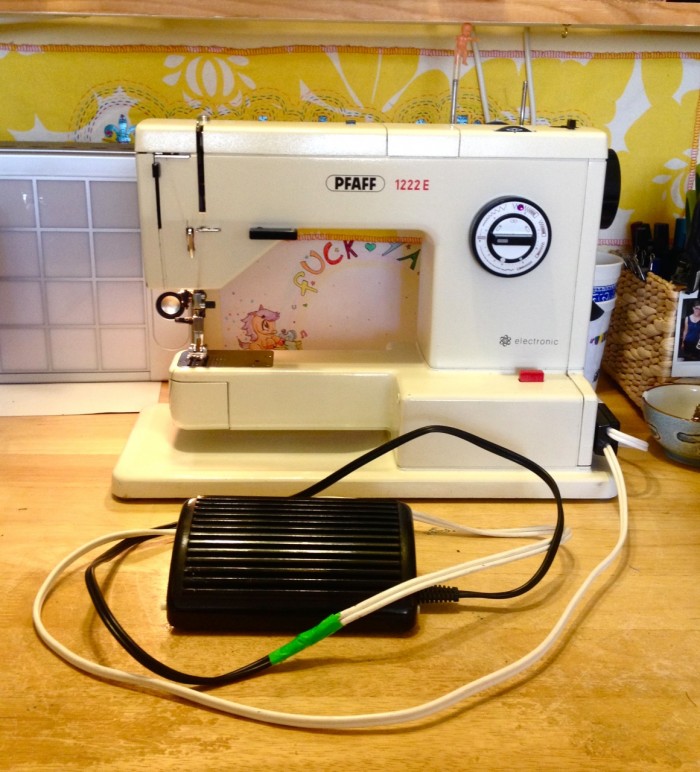
Next time we have the soldering iron out I’ll do a proper join of the wires with heat shrink, but for now the electrical tape is working super fine.

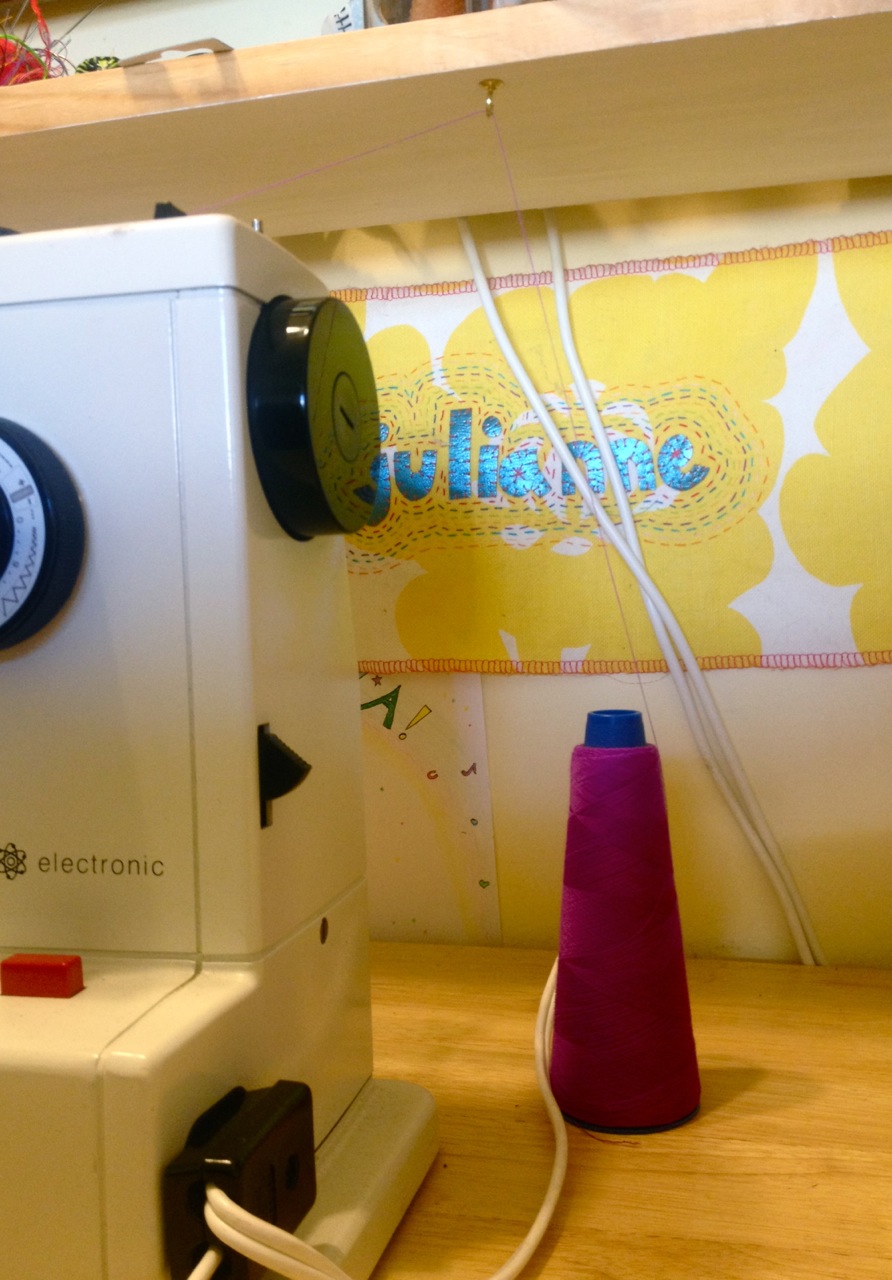
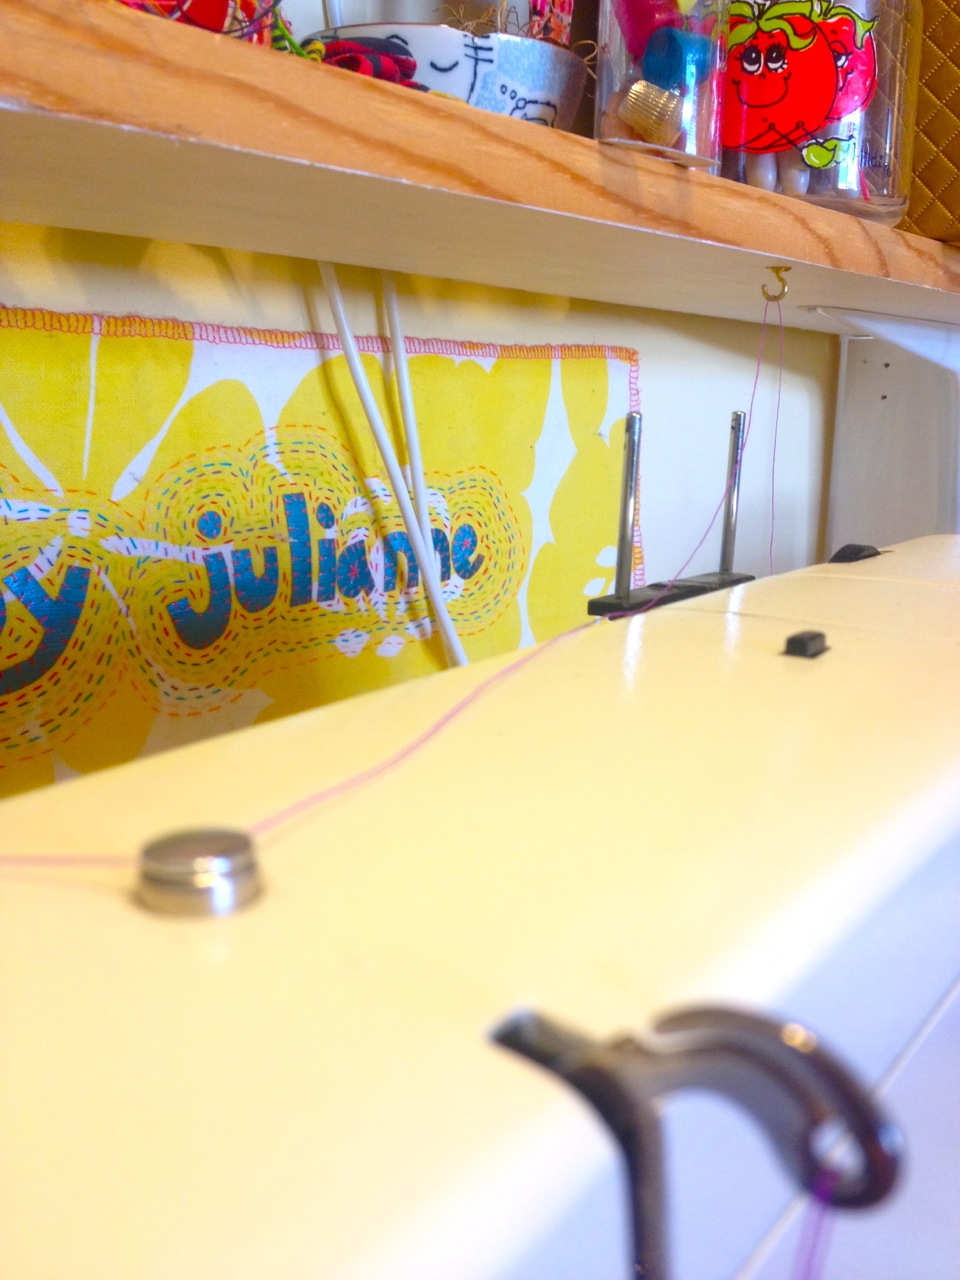
A perk of this is that I cut the Pfaff wire near the pedal, and the Singer wire near the plug, so the resulting spliced wire is really long! This means I can run both wires behind my table and still pull the pedal out as far as I want.

If you have any questions about this machine, check out the comments on my earlier post. You can read tips and feedback from people who have used this machine for decades, from people who know a lot more about it than I do, and people who have just acquired one of these machines. And it’s the #2 Google hit when you search the Pfaff 1222e – amazing!

0

ANOTHER SHOPPING BAG with pattern

by

I promise I don’t post every single one of these! I do enjoy making them though. Bags like these are super easy to make, especially while doing something else. Because gauge doesn’t matter, I can switch between whatever needles or yarns strike my fancy. And they are useful gifts!green knit shopping bag, made by Julianne

This bag uses more chunky acrylic yarn for the bottom, and leftover worsted acrylic for the body. I’m slowly making my way through my stash!

green knit shopping bag, made by JulianneKeep reading for instructions to knit your own.

Continue reading →

I wanted to use a concentric garter stitch for the bottom of the bag, and this is basically how I did it:

CO 6 stitches, placing a marker between each stitch, with a special marker for the beginning of round

row 1: *slip marker, increase 1 stitch, repeat from * (I used kfb, but I think this would look neat with a YO)

row 2: purl all stitches

row 3: *slip marker, work 1 increase, knit to marker, repeat from *

And then you work rounds 2 & 3 until the base is as big as you want.

I continued until I had 12 stitches between each marker, then worked a couple rounds alternating between all purls and all knit stitches without increasing. To conserve yarn when I switched to my worsted, I knit 2 rounds in the contrast color, then worked the third round as k1, k2tog. Round 4 and up was all knit.

Next time I make a bag, I will skip the k1, k2tog row, and just knit all the stitches for the body of the bag (or make the base smaller).

During my last bag, I got burned out on YO, k2tog mesh. Though I like the look, I can never get into a rhythm with that pattern. This time, I knit my worsted weight on size 10.5 (6.5 mm) needles to get an open fabric, and this project was finished in a flash!

The light green top is 4 rounds of garter stitch, and the handles are i-cord.

If anyone uses this pattern for their own bag, I’d love to see the results!


10

THREADING THE PFAFF

by

I’ve really loved getting comments from other owners of the Pfaff 1222E. There’s nothing quite like “I’ve had this machine for 30 years and it’s never let me down” to really make you appreciate a well-built tool. If you’re interested in learning more about this machine, check out my other posts on the Pfaff 1222e: my initial review, and an update on the machine with tips on finding feet and extensive comments!

If you’re having problems using industrial cone threads or home-sewing spools on your vintage sewing machine, I have a bit of advice on threading and tension techniques.

threading Pfaff 1222e, made by Julianne

When the machine was new-to-me and I was using spools on it, often the thread would get caught on the rod that the spool spun on. From a long-forgotten website I got the advice to set my spool on the right rod, and to create an additional thread guide by putting a cut straw on the left rod. I cut a groove to hold the thread and melted the edge with a lighter to lessen the friction.

I use this technique with every single spool. and it definitely helps the thread flow through the machine.

threading Pfaff 1222e, made by Julianne

For those unfamiliar, cone threads hold 1,500+ yards of thread, whereas spools hold 250-500 yd. Since sergers use so much thread, it is much cheaper to use cones on that machine, and it’s simpler for me to have mostly cones instead of matching spools. In LA it’s easy to find inexpensive cone thread. You can even get factory overstock: for $1 you’re getting at least 500 yd and sometimes even 3000. The selection is a grab-bag, but I always check to see if any of my most common colors are in the bins (all but 4 of the above cones were purchased for $1 or less).

I prefer to use cone threads for my home sewing machine, but they present a challenge with threading. Where does the cone go so that the thread doesn’t get snagged? There are stands for cone threads available, and they work fine, but I already have enough stuff on my sewing table.

threading Pfaff 1222e, made by Julianne

threading Pfaff 1222e, made by Julianne

I have a handy shelf above my table, and all I did was screw a hook into the underside. The cone sits on my table (and gets knocked around sometimes, but it doesn’t matter). The thread feeds up into the hook, and then into my machine at the same angle as a smaller spool would.

threading Pfaff 1222e, made by Julianne

threading Pfaff 1222e, made by Julianne

Because the cone doesn’t spin, the top thread often doesn’t have the same tension as if I were using a smaller spool. Instead of dialing my tension knob up to 10, I just loop the thread around the bobbin guide and I’m good to go!

threading Pfaff 1222e, made by Julianne

At a recent sewing meet-up, Sandra adjusted the tension of my bobbin. She says that you should be able to hold the thread tail and hang the bobbin without it rolling out.

Different threads have different tension requirements, and your fabric and needle type can also effect the quality of your stitches. All these variables can be overwhelming when you’re learning to sew, but over time they become second-nature. Happy sewing!

1 2 3 4 5