Categotry Archives: instructions

0

sewing tubes

by

Tonight I will share an easy way to make tubing, which can then be used for button-loops, straps, or ties. I’d be interested in what else you could use this for. I’ve used this method on stretch and non-stretch fabrics, to make thin strips or round ropey tubes, from a few inches long to several feet. The way I used to do this was so difficult that I’ve avoided straps altogether, or top stitched bulky straps.

strip of fabric

Continue reading →

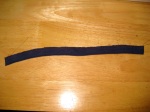
First, cut your fabric into a strip. The example is of a blue jersey, cut to about 1.5 inches.

Fold your fabric in half lengthwise, right sides together. Your seam should be at least 1/4 inch away from the fold. If you want to make your strap wider, obviously increase the distance from the fold. If you want your strap to lay flat there should be a small seam allowance, but if you want round ropey straps be sure to have enough seam allowance to plump up the tube when you’re finished.

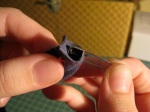
Attach a safety pin onto the end of the tubing, on the fold, going from the outside in.

Turn the safety pin so that the head is going into the tube of fabric.

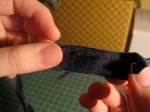
Push the safety pin down the tube. The fabric at the beginning will bunch up as you push the safety pin deeper into the tube, so ease that with your fingers. You’re trying to turn that tube right-side out!

Keep pulling the pin down the tube, easing the bunching. Eventually the head of the pin will come out the far end of your fabric… Keep pulling it out until the entire piece is right-side out! Now you’ve got a nice tube, ready for anything.

In a couple days I’ll post the dress I made using this method. Until then, happy sewing!
1

get your gear in order!

by

Talent and know-how play big roles in any project, but supplies are also important. At the very least, the appropriate tools make a project easier and more fun!

Continue reading →

My dad recently sent me a new foot pedal for my machine, and in the box there was also a pair of Gingher shears. I love these scissors! I thought the scissors I was using before were pretty nice, but since working with these shiny babies I’ve come to realize what crap I was cutting with before. Spring loaded, stainless steel, with a lovely gold snap to keep the shears closed…oooooh! I’ve developed a habit of whipping them out and snapping them open and shut to hear the sharp metal sound, and I swear I walk around with them like a gunslinger.

I also love my snap pliers. It’s quicker than sewing in snaps, but more than that, it gives the snaps such a nice touch. The grommet snaps are more expensive than their sew-in sisters, but totally worth it. Another fun resident of my sewing box is my extra-long needle set. Admittedly, I don’t use the 12-inch needle too often, but every once in a while the perfect project comes up, usually in the form of upholstery or pillow making. At the very least, whipping out one of these can be quite useful in impressing a point on someone.

sewing box

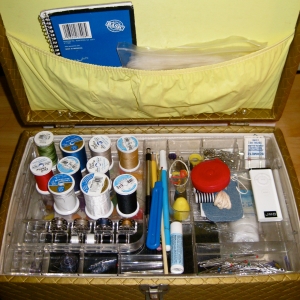
Speaking of sewing boxes, I love mine! I got it years ago at a garage sale and can’t imagine parting with it. Vintage sewing boxes are so much roomier and functional than the new ones I see at the fabric store. There’s space in the bottom for shears, stabilizer, patterns, notions, and so much more (I always keep hand creme with my sewing supplies). The top tray has so many little compartments that help me keep my space organized. Plus, I love the gold quilted exterior. They don’t make ’em like this anymore, too bad for the future generation of seam masters.

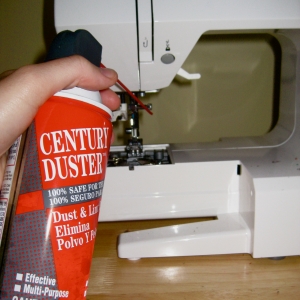
One last bit of wisdom! Every couple weeks I like to clean the lint out of my sewing machine. My machine always works much better when it’s lint free, and yes, I also like to clean things. I remove the bobbin plate and get in there with the little brush that came with my Singer, but today I grabbed Jason’s can of compressed air and with shining eyes blasted all the little linty bits out of the machinery. It was glorious! I even unscrewed the top of the arm cover and cleaned in there, which I usually do every few months. Now my machine is as clean as ever!

Happy making everybody!

0

DIY IQ lights

by

Taken from my post on Craftster

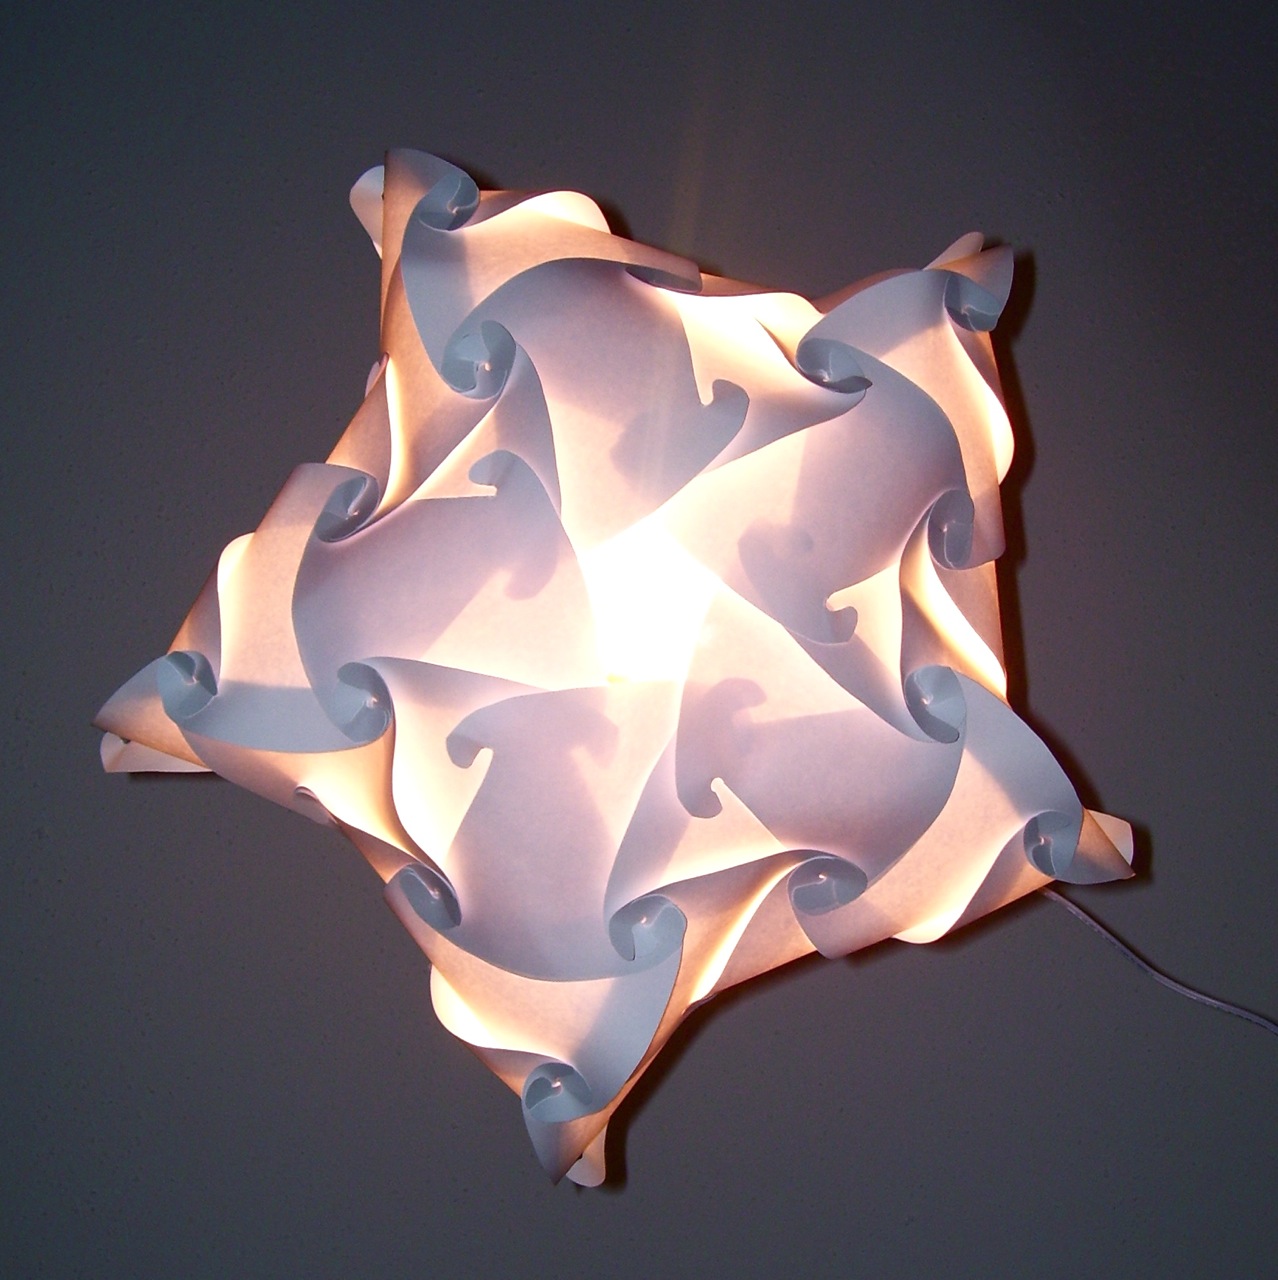
So, has everyone seen the IQ light? It’s pretty awesome. BUT no self respecting craftster would pay $30 for 30 pieces of plastic, right? So I decided to make my own. I got a template from Readymade Magazine, but I modified it for two pieces on a page. You see, I just printed out the template on cardstock and cut out the shape!

Here’s the template:

In order to cut out the little hooks, I used a hole punch so I didn’t have to get into those tiny curves with my scissors. Made the work much easier!

My first lamp used 28 pieces:

Continue reading →

And I’m not sure how many pieces are in my second lamp. I also am not sure how I made this!

I’m using 60w bulbs, and since the paper is not very close to the bulb I’m not really worried about fires. I’m using extension cords and added switches so that I can easily turn the lights on and off (my sockets are incredibly inconvenient).

This is a really neat project. It’s amazing to see what you can make with just one shape. This would be fun to do with kids old enough to handle sharp scissors. Girl scouts maybe?

1 2 3 4 5