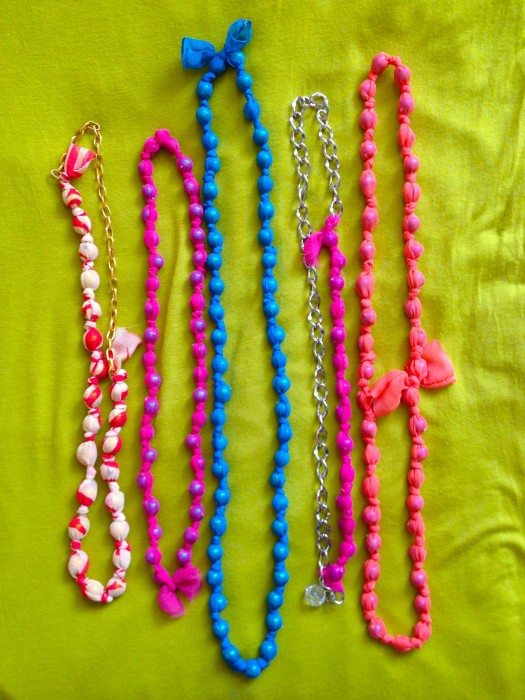
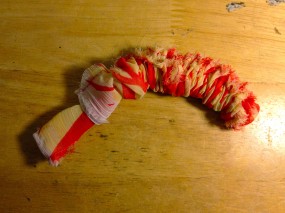
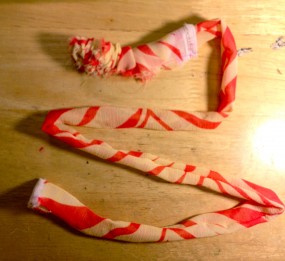
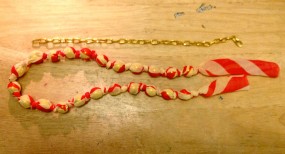
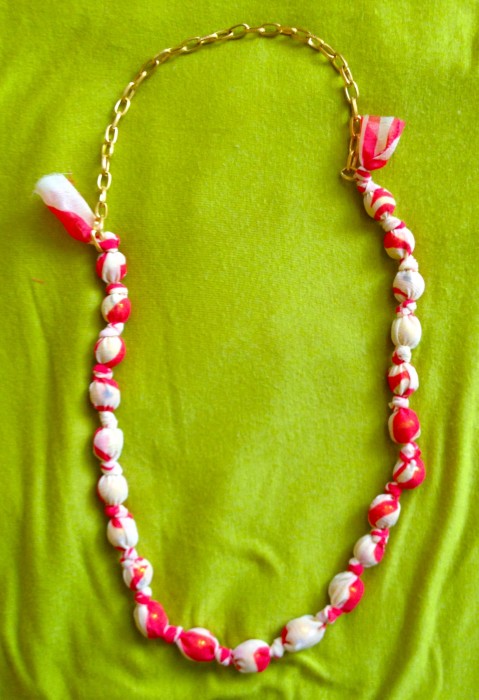
Here’s the promised tutorial for making fabric necklaces!
These necklaces are an easy project that don’t require much skill. The only sewing required is one long, straight seam. This project is also great for using up a scrap of a special fabric that you don’t want to toss out. It can be done in a group, possibly with sewing the tubes beforehand (do the turning together!) and also makes a great Burning Man gift.
AND I think they’re beautiful. Much prettier than regular Mardi Gras beads!
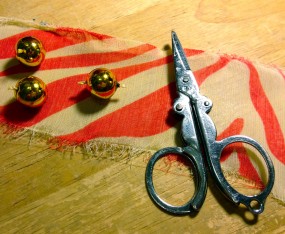
Depending on the size of your necklace, you’ll need a strip of fabric 5-7′ long and about 2-3″ wide, enough to wrap around the circumference of your beads with room to spare, plus seam allowance. Oh yeah, you’ll also need beads. Like everything else, this varies based on your actual supplies, but you’ll use up to about 50 beads.
As a New Orleans native I inevitably have tons of Mardi Gras beads lying around, so I cut those up. At this point I’ve made so many necklaces that I’ve had to have more beads sent out to me in LA.
If you don’t have a huge bag of cheap plastic necklaces sitting in the back of your closet don’t worry. Just about any craft store will sell loose beads. You could also use wooden or glass beads.
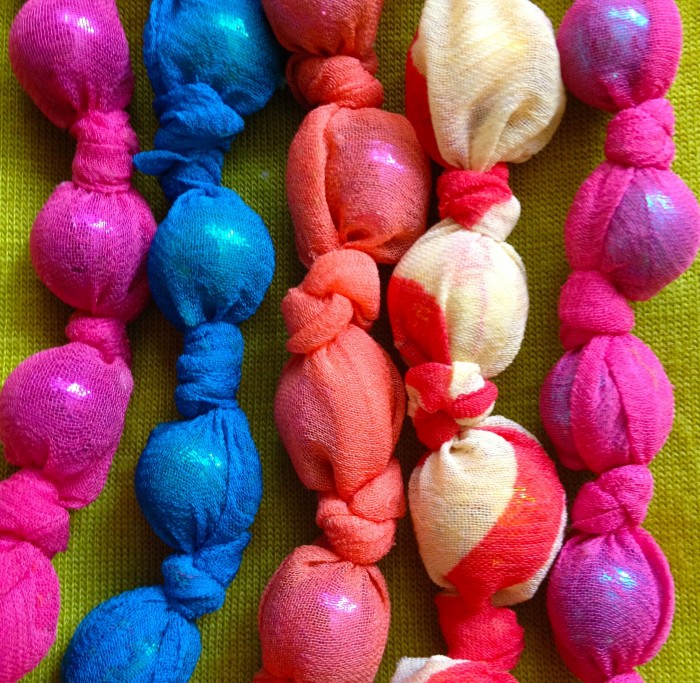
I like to make these necklaces out of thin fabrics so that the bright plastic beads shine through. I normally use silk chiffon scraps, but for this example I’m using a poly-chiffon print. If you’re also using a print, keep in mind that the knotting will obscure your pattern, so smaller designs may work better. I’ve also used less-pretty beads and gorgeous opaque fabrics and they always turn out beautiful.
Tying the knots takes up a lot of fabric, so your finished necklace will be about 1/3 the size of your starting fabric. You need to start with a strip about 7′ long to fit around your head when finished. If your fabric is short you can sew two strips together, and disguise the seam with a knot. My fabric is the length of the bolt (5′) and I will be attaching a chain for extra length.
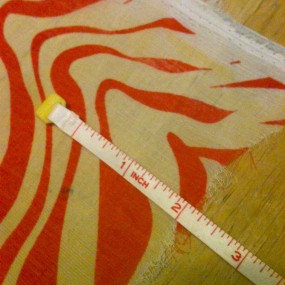
Measure the circumference around your bead. I like to have my fabric tube be a little bit wider than the bead; this makes it easier to insert the bead and doesn’t require my width to be 100% exact. In this case my bead is 1.5″ around, and I’ve cut my tube to 2.25.”
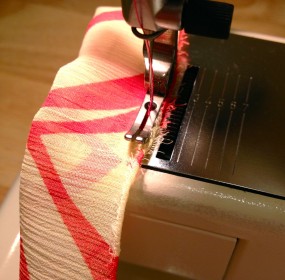
I usually sew the seam on my serger, only because I like having the narrow seam allowance bound, and it feels faster than my regular machine. For this example I’m using my Pfaff. I sew very close to the raw edges because I don’t want extra fabric from a large seam allowance to bulk up my tube.
……………………………………………………………………………………………………………….
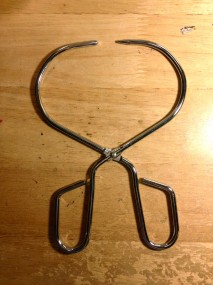
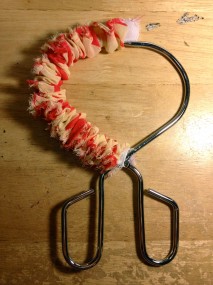
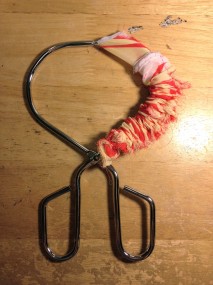
Once your tube is sewn you need to turn it rightside out. There are special tools for this, including this medieval-looking device, which works well and quickly. It also makes the tube look like a little fabric shrimp.
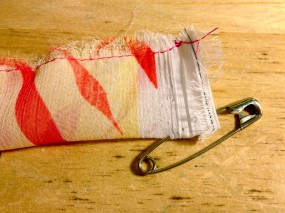
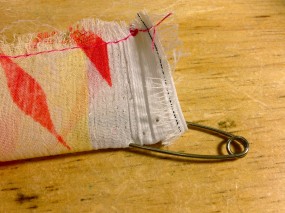
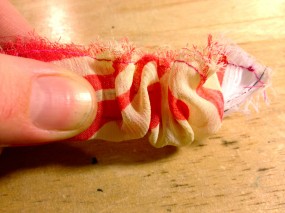
But no need to drop precious money on a specialized tool if you’re not going to use it often (mine was free anyway). You can turn tubes using just a safety pin.
Attach the pin to one open end of the tube, at least 1/4″ in from the raw edge. Inset the pin head into the tube and grasp it with your other hand, using it like a needle to scrunch up the fabric around it. Keep up this inch-worm action until you get the pin to the other open end, and then pull the tube completely out.
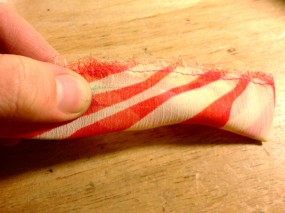
Another way to sew these tubes is on a serger (or you could zigzag stich on a home machine) with wrong sides together, right sides out. You don’t need to turn the tube at all; just leave the stitching exposed. Coordinate your threads to the fabric so that it becomes a ‘design feature’.
……………………………………………………………………………………………………………….
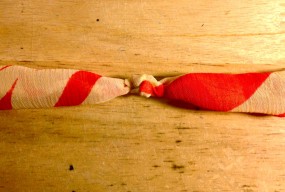
Once your tube is turned you should tie a knot in the middle of it. If your sewe two strips together, make sure the knot is over or immediately next to the seam. You don’t want it to bulge over a bead, where the seam allowance would be very visible.
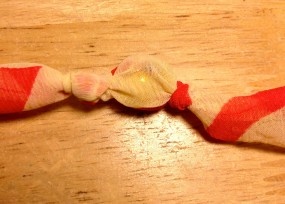
Insert a bead into either open end of the tube…
…push the bead down to the first knot…
….and tie a second knot tight against the bead.
Now do this about 30 more times.
Stop when you have about 4-6″ of fabric left at the ends of the beading.
Test the necklace length to see if it can fit over your head. If it’s big enough, then all you have to do is tie the loose ends to each other. They can either be tied in a knot to each other or sewn together.
If your beaded section is too small to fit around your end, tie each end to a small length of chain.
I like the way the ends look sticking out, but if you want a neater look you could also stitch these ends down. One could also attach a clasp to the necklace ends, but I prefer the over-the-head Mardi Gras style necklace.
This technique is open to lots of interpretation; this is just the way I do it. If anyone has any creative ideas or questions don’t be afraid to post!
I taught my niece’s NOLA Girl Scouts troop how to make these necklaces, and we all had a lot of fun. I usually have a few of these ready to give as little gifts. They also make charming headbands or belts!
