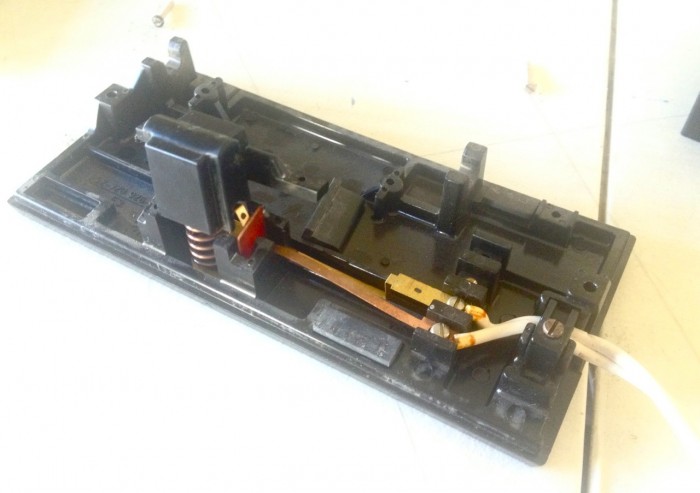
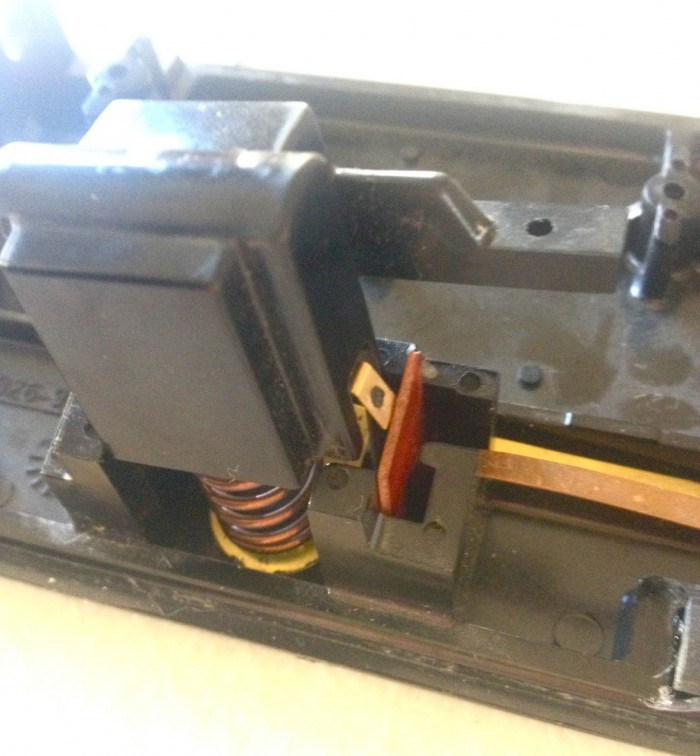
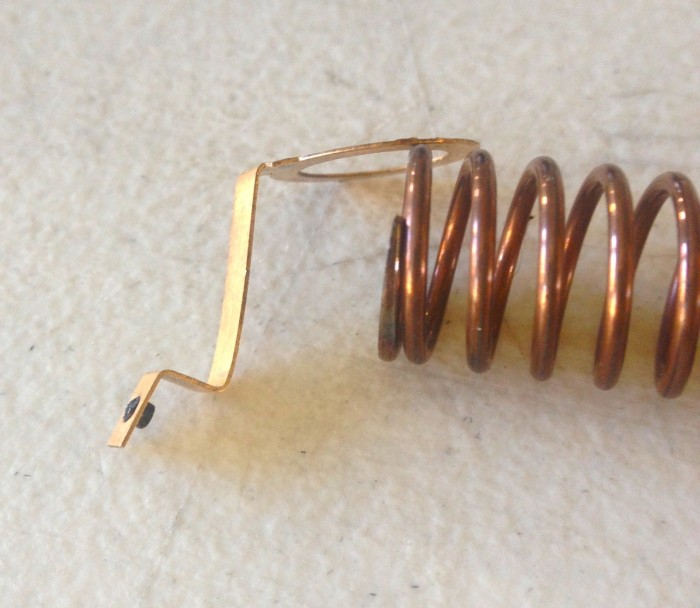
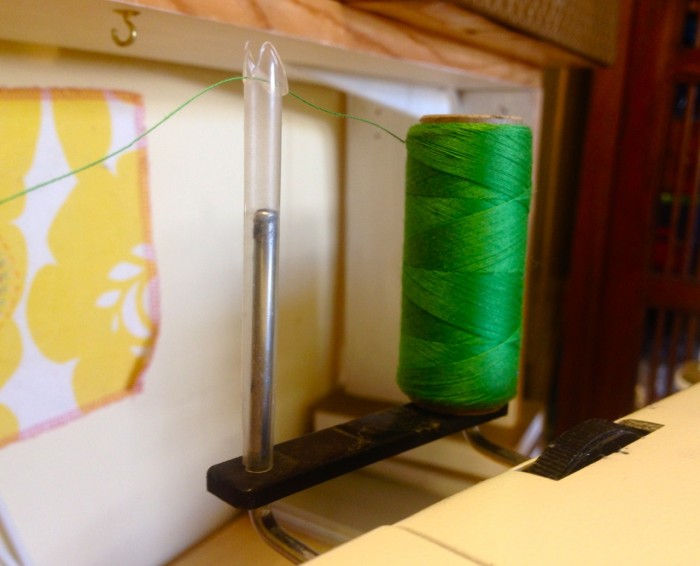
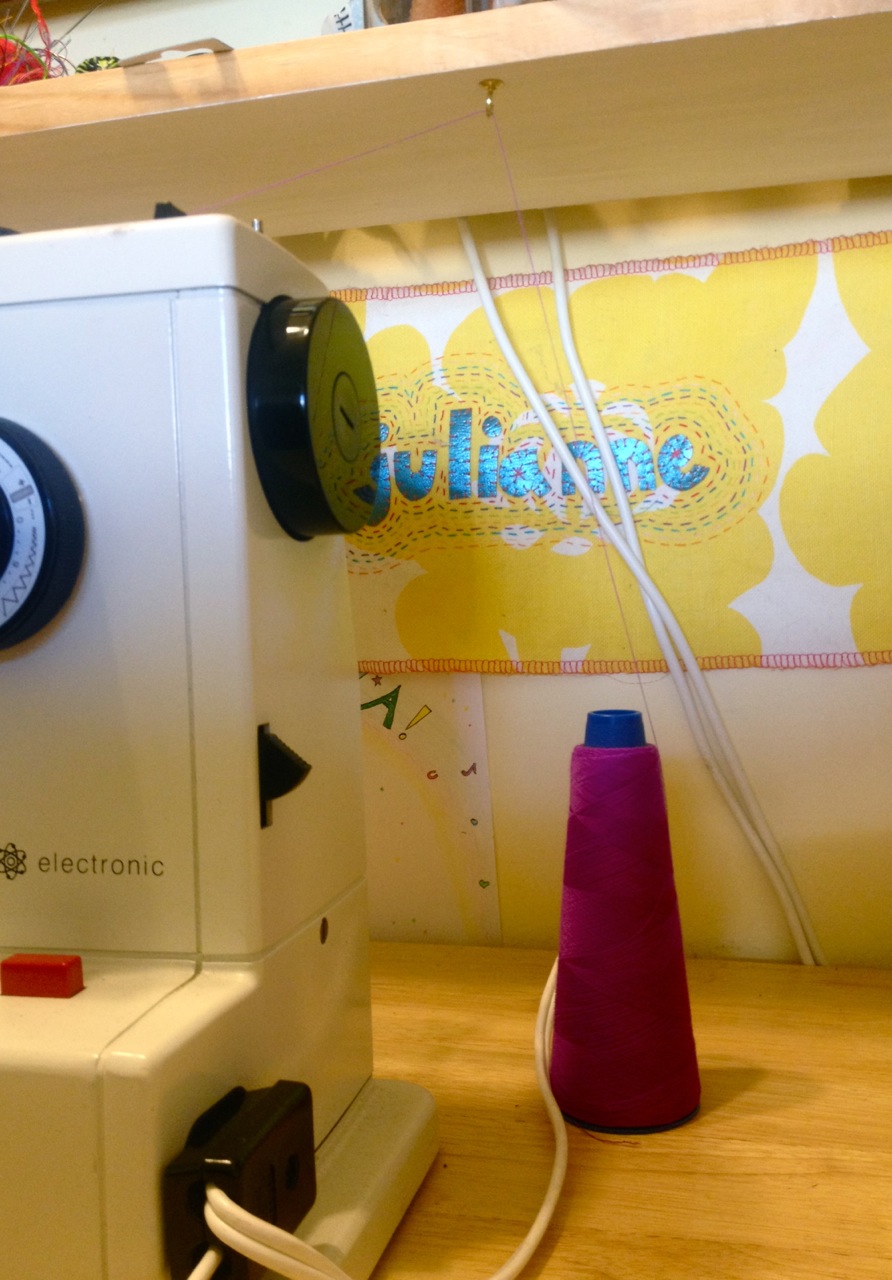
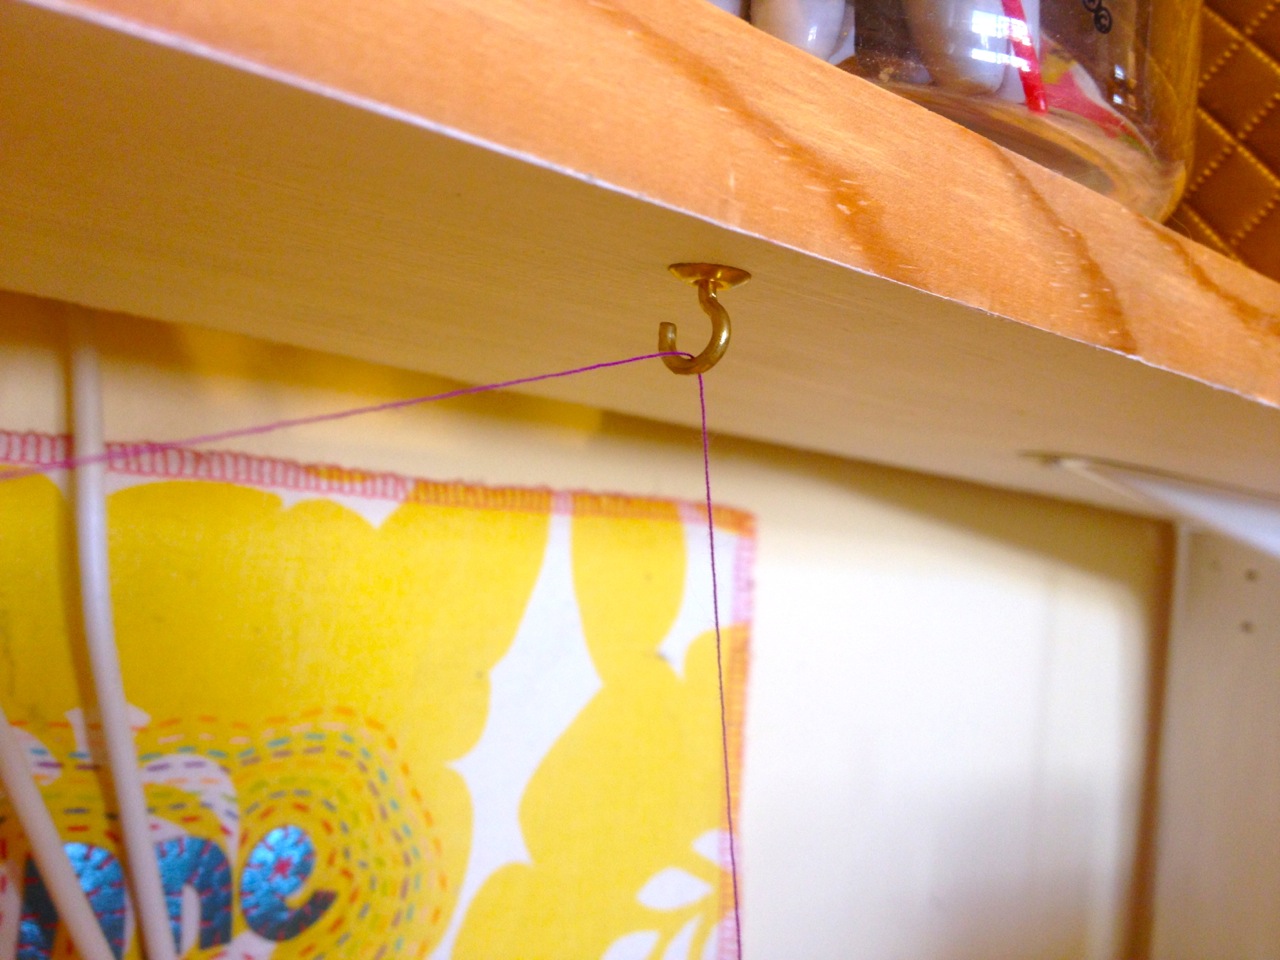
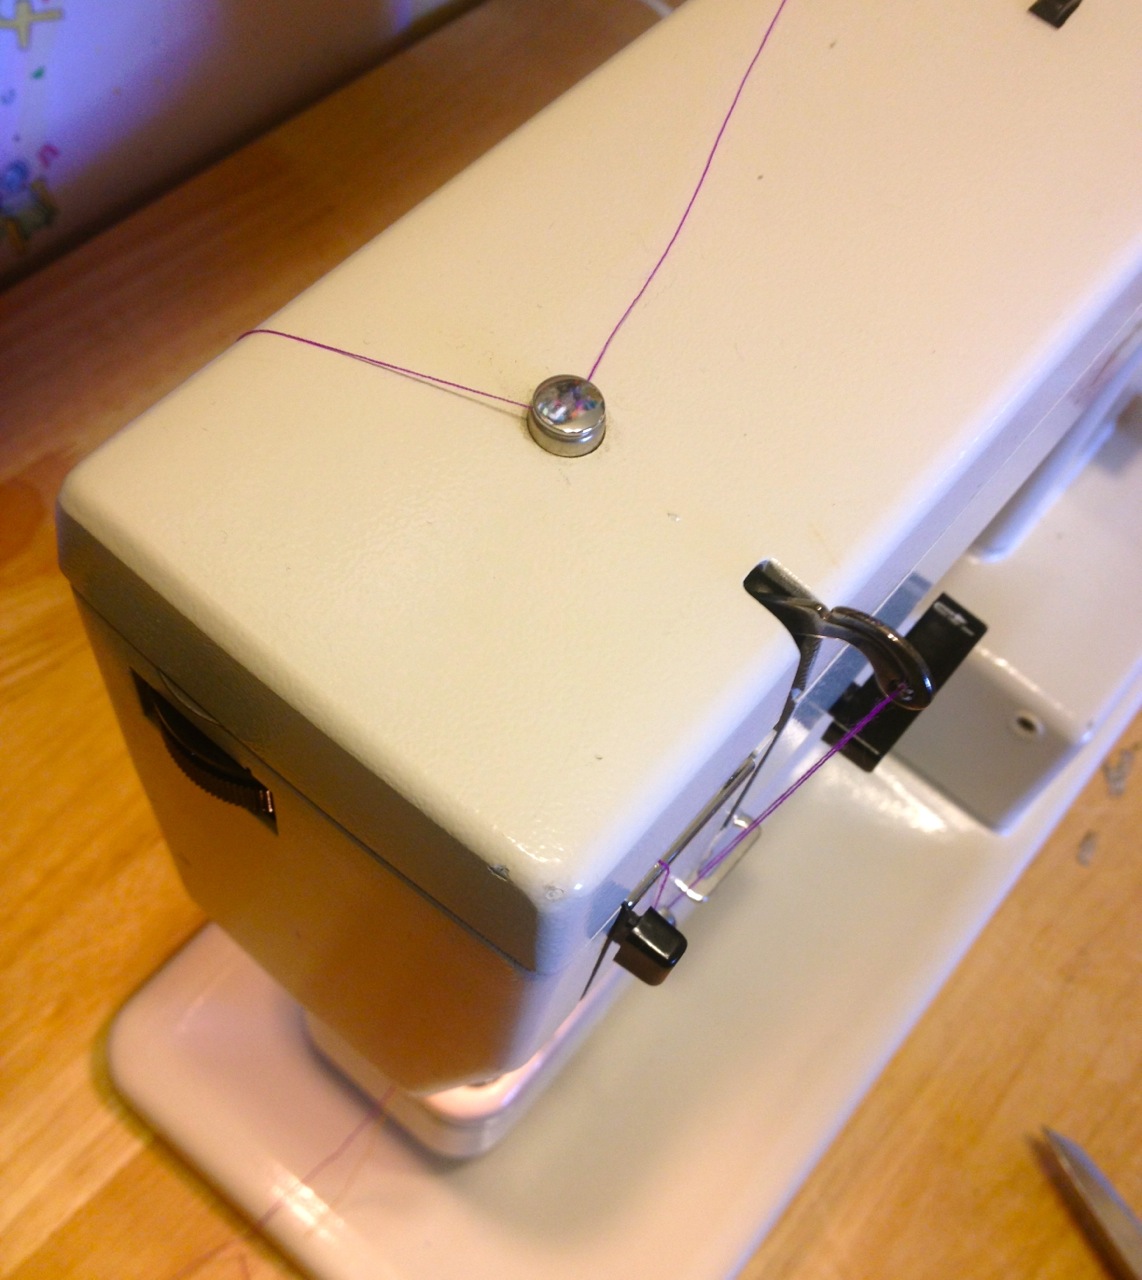
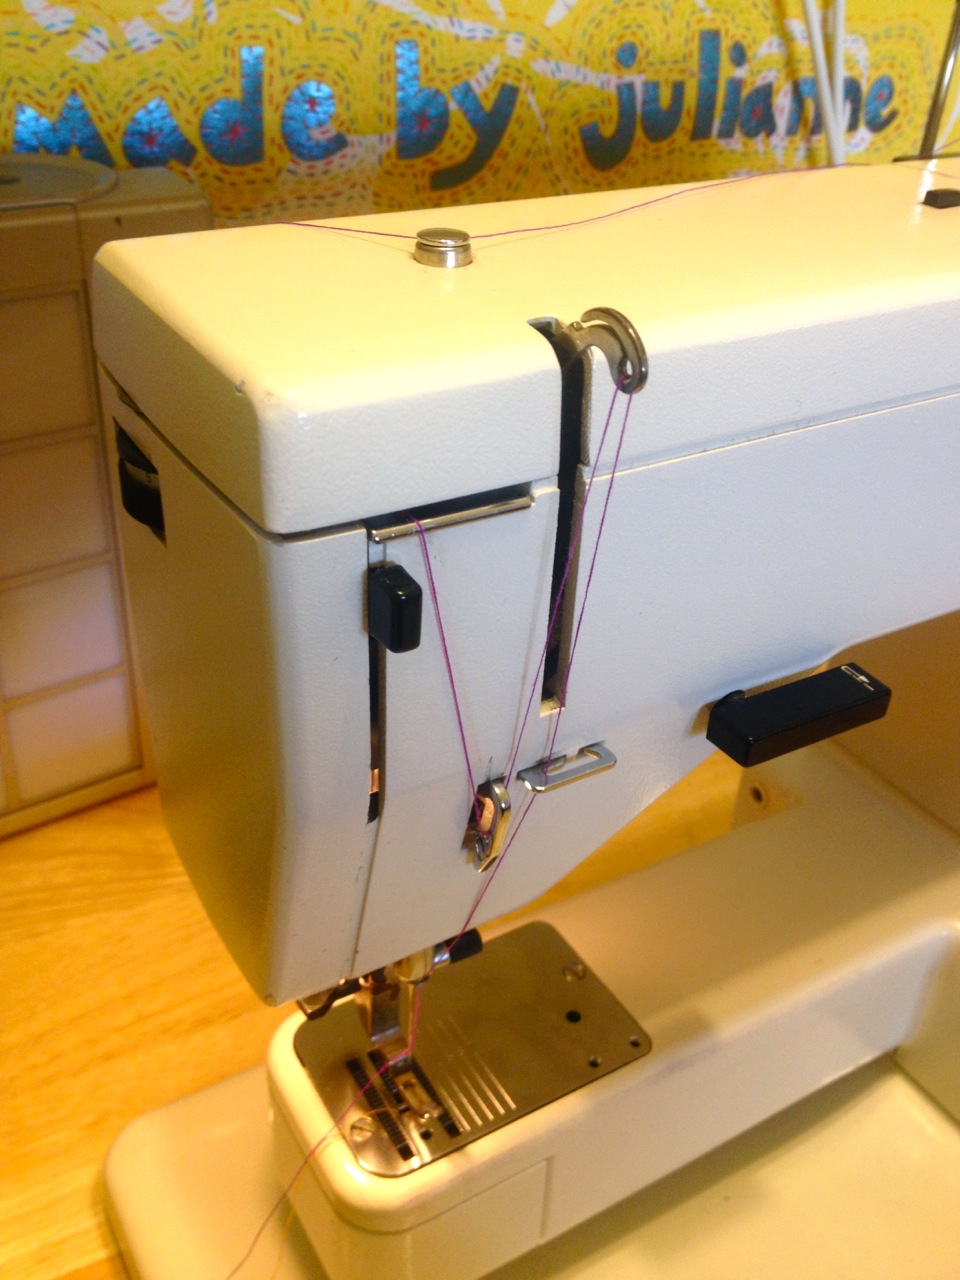
For more information about the Pfaff 1222E, check out my initial review as well as my tips on threading with industrial cones. Also you can replace the pedal if you have a “runaway” vintage sewing machine.
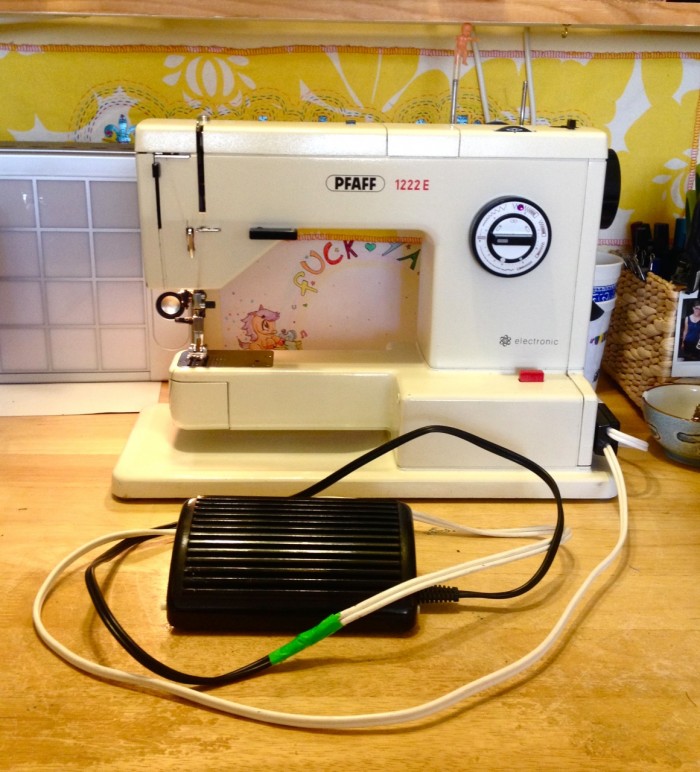
As many of you know, especially if you follow me on Facebook, I love my Pfaff. Since I’ve been getting a fair amount of site visitors looking for information on the machine, I’ve decided to do an update, now that I’ve been using the machine for about 6 weeks. To recap (and get those search results, cha ching) it’s a 1982 Pfaff 1222E.
This post will probably not be too interesting to most readers, but hopefully I can share some insight with people thinking about getting one of these machines. From what I can tell, the normal price range is $300-400, depending on the machine’s condition and accessories.
My machine came with a CD manual, which I’ve taken the instructional images from.

This is my first intentionally vintage machine. I learned to sew on a Singer that was probably made at the same time, but it didn’t seem vintage at the time. There have been plenty of older people (mostly women, although plenty of men have asked about that new sewing machine I constantly talk about on Facebook) who laugh at me when I tell them my vintage machine is from 1982, basically thinking I’m so young and naive to consider the early 80s vintage. If I were using a 30-year-old nail clipper, a tool that hasn’t really evolved much over its lifetime, I wouldn’t call it vintage. But a sewing machine that’s older than I am, in an industry that has seen lots of development and digital revolution, for which parts are no longer manufactured, in a throw-away culture? Yes, I consider that vintage, and if you think I’m naive for that then I think you’re outdated and delusional. So there.

I honestly haven’t used the table extension a single time. I do mostly apparel sewing, and the free arm actually works best for me. It’s smaller than on my last machine, and the perfect size for sleeves or legging hems, coming in at just over 9″. So while I’m definitely glad to have it, I’m glad I didn’t pay $50 for an acrylic table.

 I’ve grown pretty fond of the setting dials. They are simple but very efficient! The outer ring adjusts stitch width and length, which makes sense if you look at the diagrams on it. The inner knob is for the needle position, which is essential in some of the decorative stitches, which are set through buttons on the top of the machine.
It took me a little while to figure out my favorite stitch settings, which I’ve marked with rhinestones. They’re removable if I ever change my preferences, and also delightful.
This dial also has a knob to adjust the needle position from left to right, which is essential for some of the decorative stitches.

Because you manually set the stitch settings (with dials), the machine doesn’t reset when you turn it off or move to a different stitch. This may be obvious, but it’s an extra step for those who are used to modern digitized machines.
One feature of the machine that may be worth noting is the automatic needle position: there is none. Whereas my last Singer would automatically pull the needle up to its highest position when I took my foot off the presser pedal (making it easy to pull the fabric out from the machine), and the industrial Juki I use at work puts the needle at its lowest position (so that I can pivot the fabric without losing my place), the Pfaff leaves the needle wherever in the stitch it is when I remove my foot. Despite the power and speed of the machine though, it’s pretty easy to take my foot off exactly where in the stitch I want the Pfaff to stop. I can stop the needle at its highest point to remove the fabric, or have it all the way down to hold the fabric in place. Of course I could always turn the wheel the reposition the needle, but who would want to do that?


I have never been able to use an automatic threader on any machine I’ve ever used. I simply can’t understand them, and I have no problem threading a needle the old-fashioned way. Vintage all the way baby!


One neat little feature is this lever that can hook onto the presser foot. This takes the pressure off the foot, allowing you to match stripes and plaids easier. The Pfaff has a built-in walking foot! It’s called the Matchmaker foot. Occasionally fabric gets caught on the plastic piece, but it’s not really an issue. My biggest caution about the lever is to not leave it engaged all the time: because it reduces the pressure from the foot, the feed dogs don’t get a proper grip on the fabric, so stitches might come out wonky.


Which brings me to my biggest breakthrough: the Pfaff 1222E can use standard high-shank industrial feet. I absolutely hated the right-hole zipper foot that came with machine, and Pfaff-specific feet can get pretty pricey even without the widest selection. Meanwhile industrial feet are all over the place, and cost about $5-10 each. And they’re made for industrial use, so no worries about quality. The shape of the shank is a little different between the Pfaff and industrial feet, but the industrial shank fit on my machine perfectly (the third photo has a Pfaff foot on top and an industrial foot below; the important thing is that the knob fits into the same place). No other Pfaff site I saw had this insight, but I think the machine’s compatibility with less-expensive industrial feet is a huge bonus!
There is an adapter that lets you use snap-on feet on the Pfaff, but $70 for a foot?! That’s just nuts.

The slightly rounded plate under the free arm collects stray pins and loose threads from rolling around on my desk. I love this little tray!
If any of y’all have any questions about my Pfaff, let me know and I’ll try to answer.
For more information about the Pfaff 1222E, check out my initial review as well as my tips on threading with industrial cones. You can download the stitch pattern chart PDF here.