First off, welcome to the new site! Since I’m no longer on WordPress’s server I don’t have to follow their rules, so expect the site to get really wild. Until then, please excuse any awkwardness!
Secondly, this Saturday I will be doing an art market at Fabric Planet, so if you’re around Venice come by!
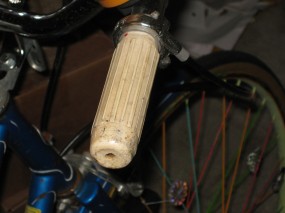
I recently got a twist shifter for my three speed. This is extremely awesome and I love shifting gears constantly now, but the vintage grip didn’t quite match my newer one. Admittedly, it wasn’t a huge difference, but it was bugging me and I knew I could do something fabulous.

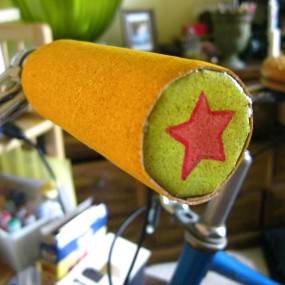
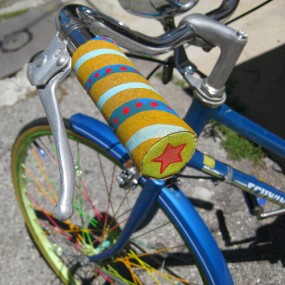
My custom grip shifter is made out of cork paper that is painted and hot glued on. For the other side I also used craft foam. All of these supplies can be easily found at a craft store.


So you want to make your own now, right? Continue reading →
Well, the obvious first step is to remove your old grips. The easiest way to do this is to put a few drops of denatured alcohol at the opening of the grip and try to get it to drip down toward the end of the handlebar, then pull.

I wrapped my handlebar in craft foam so that the grip would be the same thickness as the twist shifter, and it’s really nice having that extra padding. Choose a complimentary color foam because it will show on the edge of the grip. Cut the foam to the length you want for the grip, and wide enough to wrap around the bar once or twice, depending on your preference. Glue the foam to your handlebar by applying glue a few inches at a time until you’ve completely circled the bar. Place the edge of the foam on the bottom of the handlebar.
Make sure that the end of the foam is flush with the end of the bar, and keep it tight while you’re wrapping.

Trace the circumference of the wrapped bar onto a piece of foam and cut it out. Glue this onto the end of the bar.
You could also use a cool bottle cap if you like, but I didn’t have any on hand that I was fond of. You could actually leave it at this, with just the foam grips. It should be pretty weather and UV proof, and you could decorate it with cut-outs from contrasting foam. But this isn’t that kind of tutorial, and we’ve got to keep going.


Next it’s time for the cork. Cut out a circle from the cork paper about 1″ larger in diameter than the foam end cap. When you’re cutting the foam use a sharp blade or scissors and be careful: the cork fibers can tear apart very easily. I recommend putting an awesome design on your endcap either with acrylic paint or even Sharpies. When you’re satisfied, glue the cork end onto the foam.
You will need to cut wedges out of the cork so that the edges will lay flat when they are glued down. Cut as close to the edge of the foam as possible without tearing or leaving any gaps! I cut 10 wedges, each about 1/4″ wide at the outside end. Glue the flaps down onto the foam, going a few at a time.

So that the outer layer of cork is smooth, you will need to add a base layer of cork. It should go from the edges of the endcap flaps to the end of the foam. Tightly wrap this around the grip and glue down.


Now you’re ready for the final layer of cork. I painted mine a solid color before gluing it on. You may also be able to paint any designs on it at this point, depending on what your design is (if you want a spiral you will have to wait until the cork is glued onto the handlebar so that the stripes will line up correctly). Apply a line of hot glue to the wrong (unpainted) side of the cork and attach this to the underside of the handlebar. Wrap the rest of the cork around the grip, gluing along the way, and securely glue the end.


The final step is to decorate!
This post is dedicated to Meridith with the potentially awesome bike, who I just met at a bar on the beach.


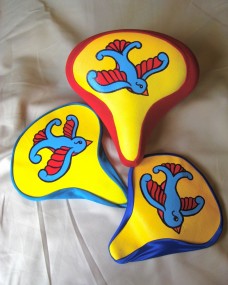
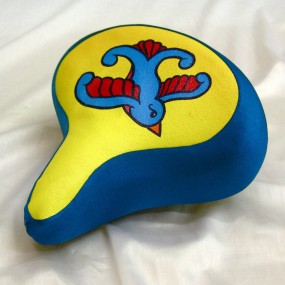
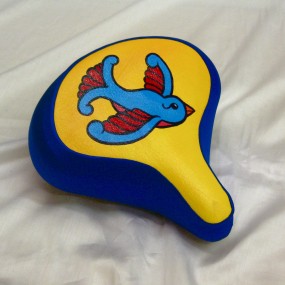
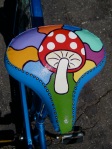
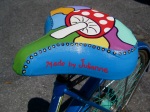
 The tops are all hand painted and original designs. The glossy sealant makes the saddle covers UV-proof, water-resistant, and highly durable to butt-wear. The sides are made out of some truly fabulous spandex with elastic around the bottoms to keep the covers fitting tight (I loved using underwear elastic for some of the covers).


