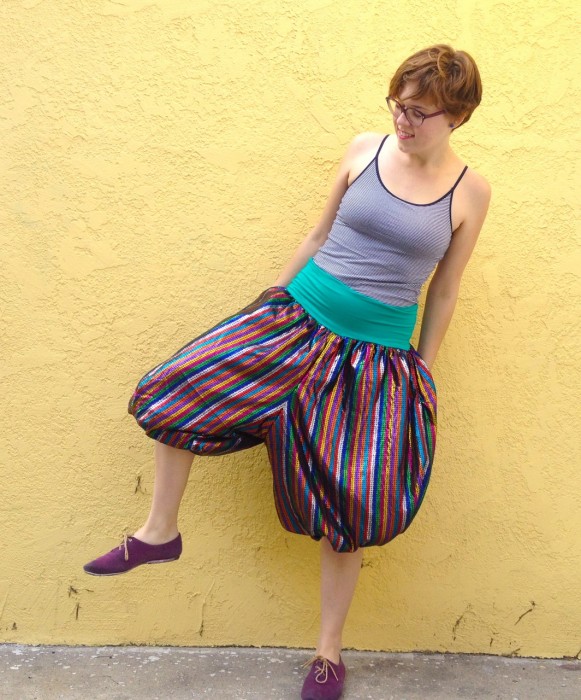
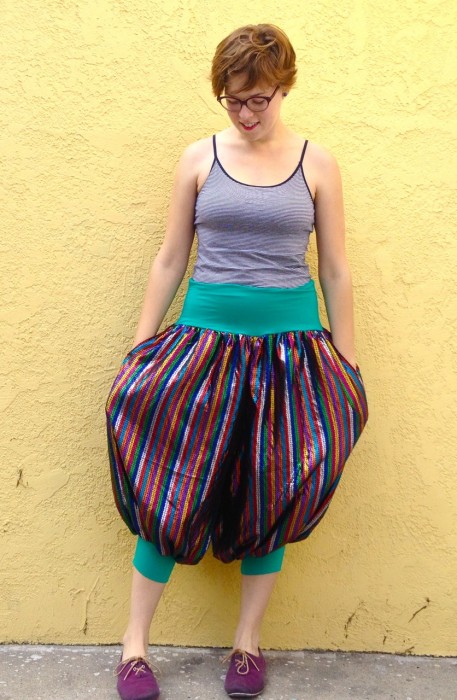
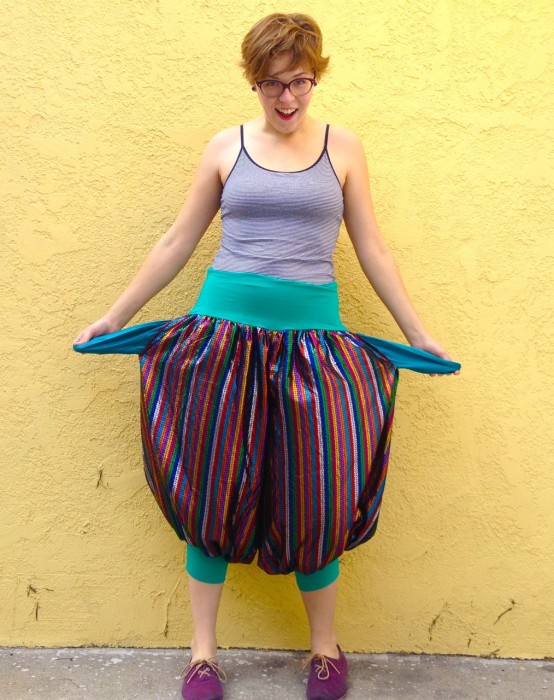
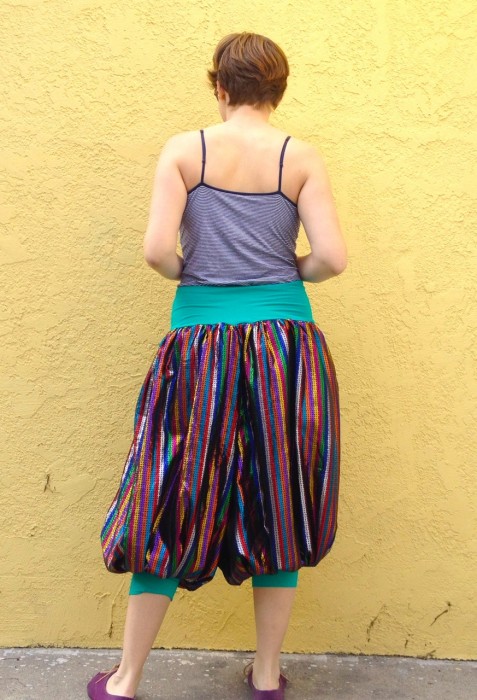
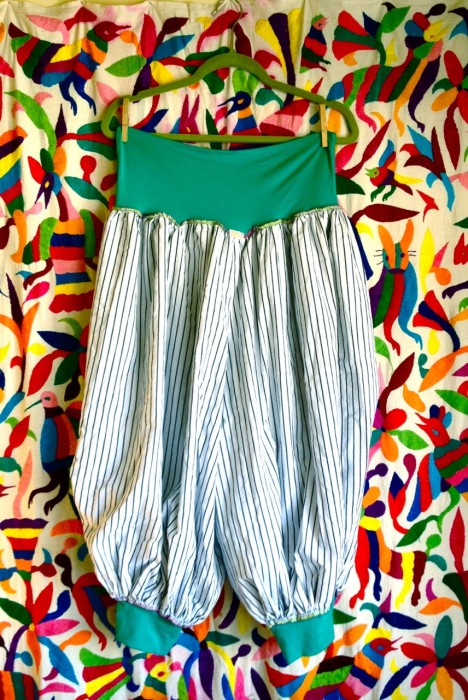
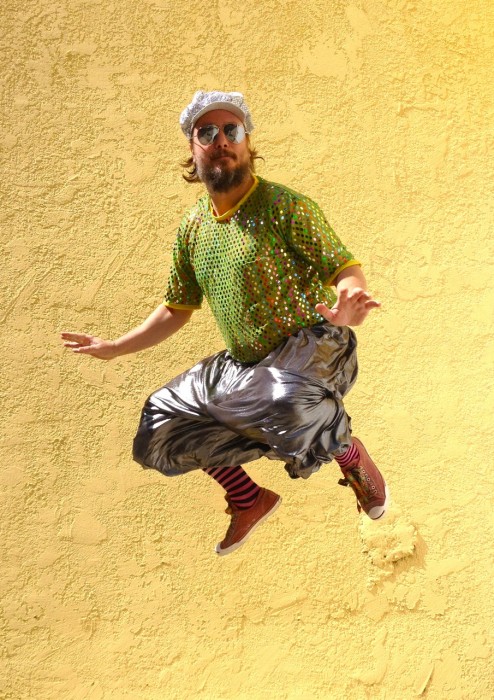
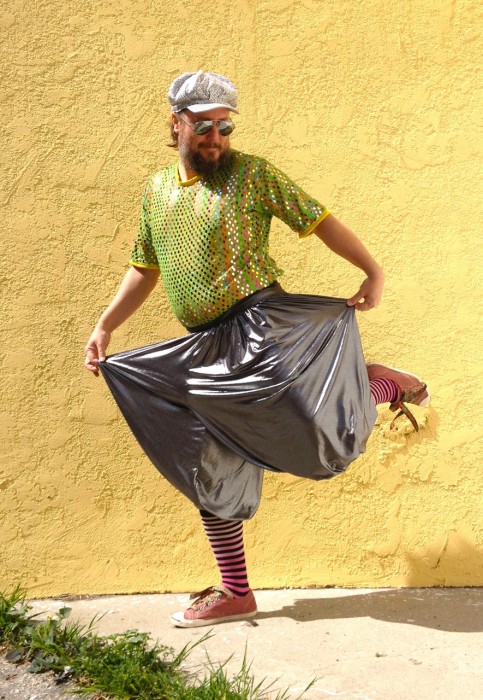
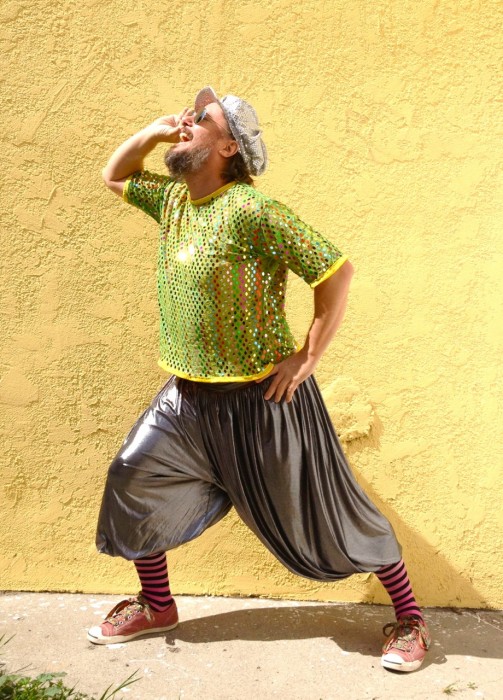
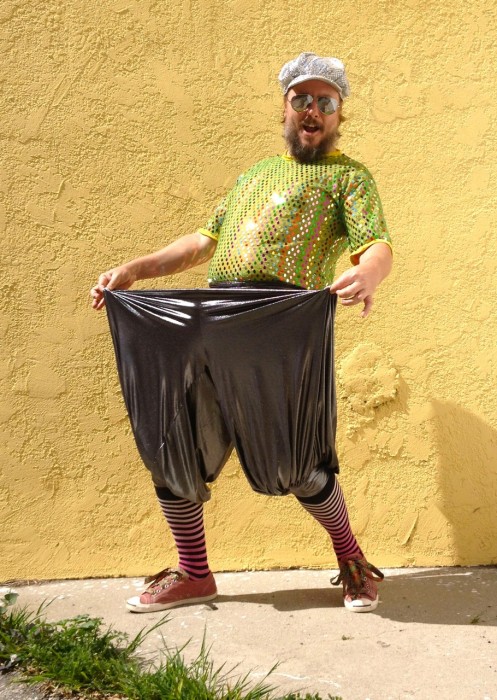
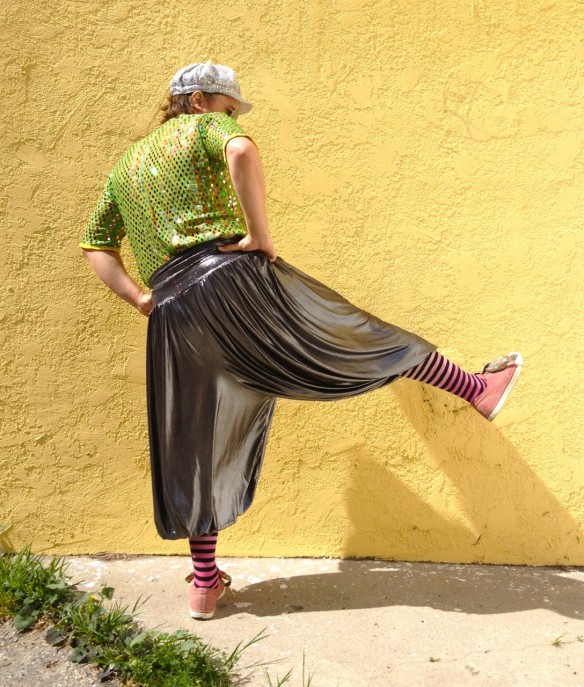
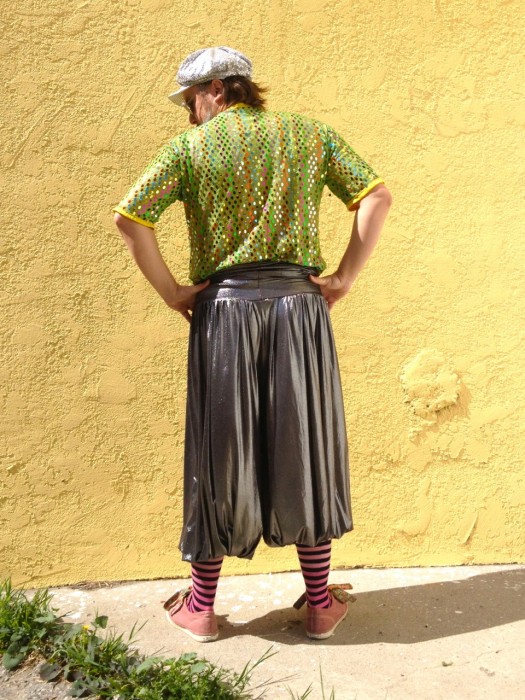
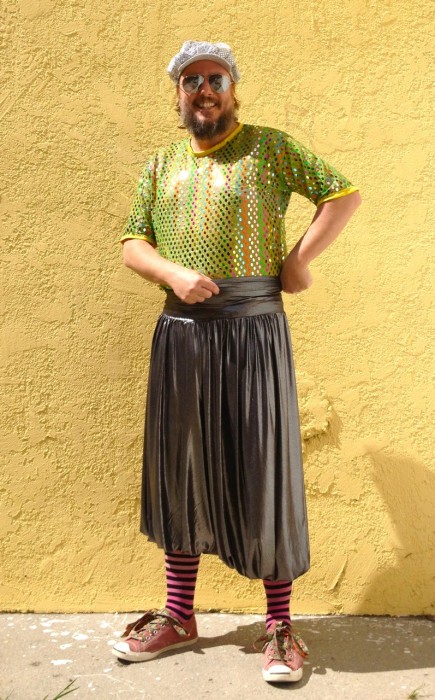
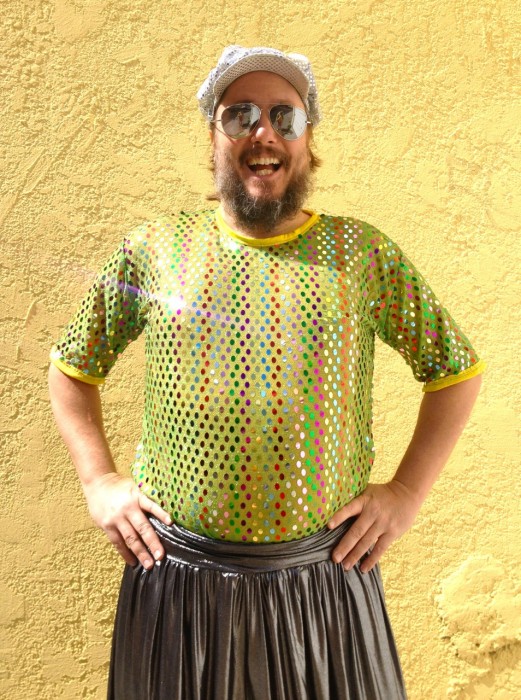
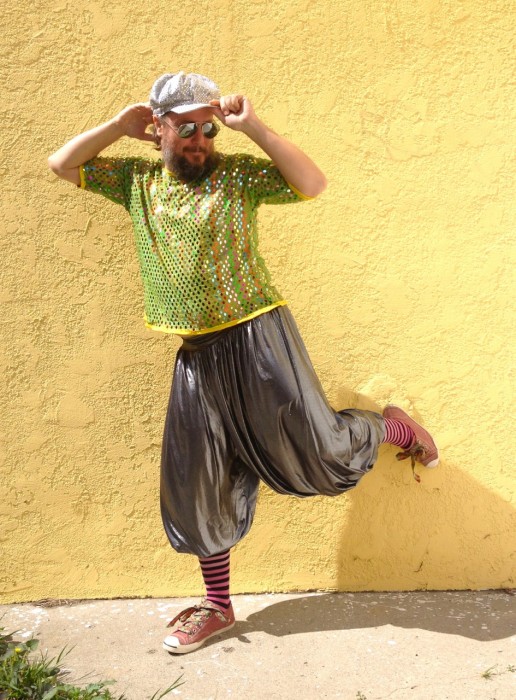
Some people call them harem pants, but I prefer genie pants, cause I’d rather be a genie and make magic than be in a harem. Sure, you could say that both reference confinement, servitude, and giving pleasure, in which case I would call them balloon pants. BUT WHATEVER.
For this example I am using a very stretchy lycra, but you could also use a woven fabric for the legs. I love the wide stretchy waist and leg bands, but you could use elastic on a woven fabric, or have this waistband fitted with a zipper like a pencil skirt.
Since this design has so much fullness, and my fabric is so stretchy, nothing has to be exact. I came up with this technique myself, and I’d love to hear any alternative methods.
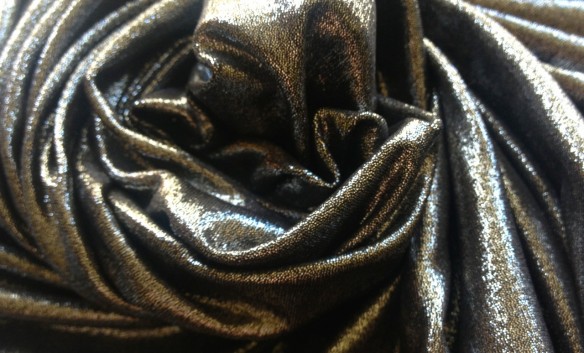
I’m making this pair of pants for my husband, so use your own measurements!
You can either cut these pants on the grain or cross grain, depending on the stretch of your fabric and layout of the print. Since they are so voluminous and stretchy, I don’t worry about seam allowances.
STEP 1: CUTTING
These pants are made in 5 pieces: a left and right side, a waistband, and two leg bands. You need approximately 2.5 yards of fabric total (2 yd for the legs, 1/2 yd for the bands).
First, I cut the length of the pants, about 30″. You’ll need two pieces this length, one for each side (I take one 60″ piece and fold it in half. This cut should parallel to the finished edge of the fabric, and perpendicular to where it was cut off the bolt). With the waist and leg bands, the pants can be worn down to the ankle or bunched up on the calf. Like every other measurement, adjust this as you see fit.
For a very balloon fit, I like to have the pants about twice as wide as the hips (2:1). So each side piece is cut as wide as the circumference of the hips. If you don’t want your pants to be as gathered, or don’t have enough fabric, you could reduce this ratio to 1.5:1. My husband’s waist is about 40″, so I am cutting the pants to be about 80″ in the waist.
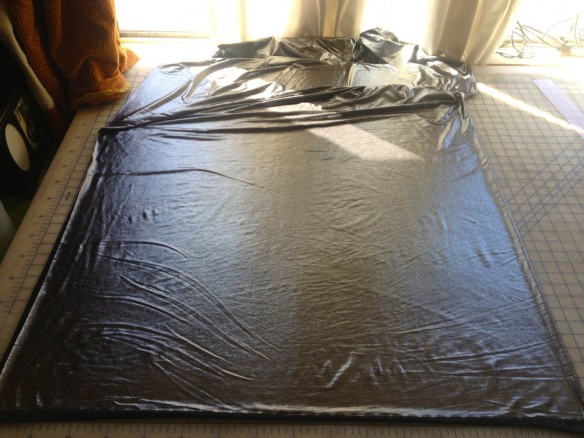
In my case, each piece for the legs is 30″ long, and 72″ wide, with the stretch and selvedge across the 72″ side. Once I cut out the crotches, the top of the pants will be about 40-50″ wide.
The next step is to cut the crotch scoop. I do the front first, and base it off pants he already owns. Since these genie pants are loose and breezy, I cut the crotch lower and wider than his trousers fit.
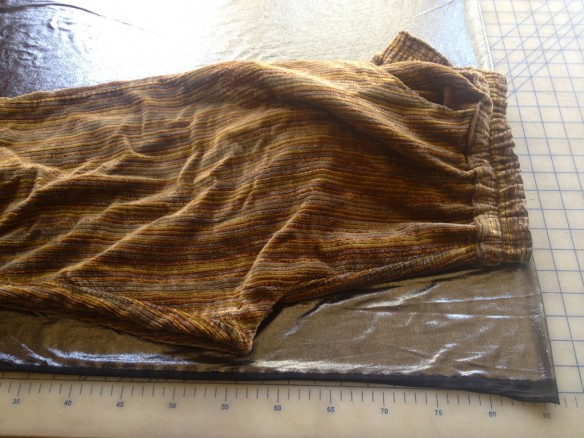
Regular trousers laid out on the fabric to trace the scoop of the crotch
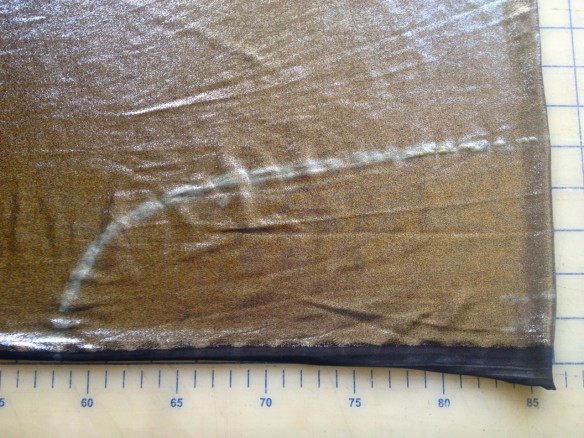
Crotch scoop, traced from trousers
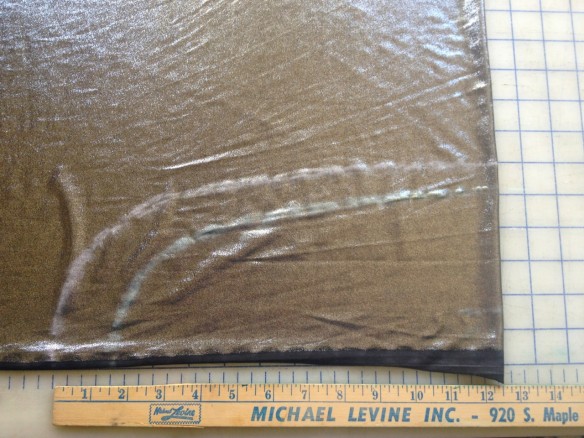
Wider and deeper scoop, shown by the light pink line
My husband’s hips are approximately 40″, so the waist of each side piece is 40″ for a total width of 80″. Basically, I’m using the entire width of the fabric, in my case 60″. Moving to the opposite selvedge, I cut the back with the same length but a wider scoop (about 3″ deeper) to accommodate the booty. Again, not rocket science.
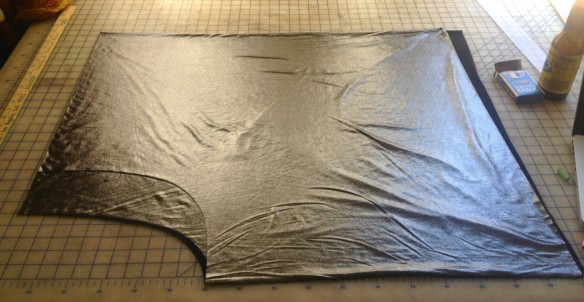
Crotch scoop, with the back on top
Here’s a nice shot to show the crotch. The front piece is on bottom, with a “shallower” crotch scoop. The back piece, on top, is cut deeper, to accommodate dat booty as well as sitting without too much wedgie action.
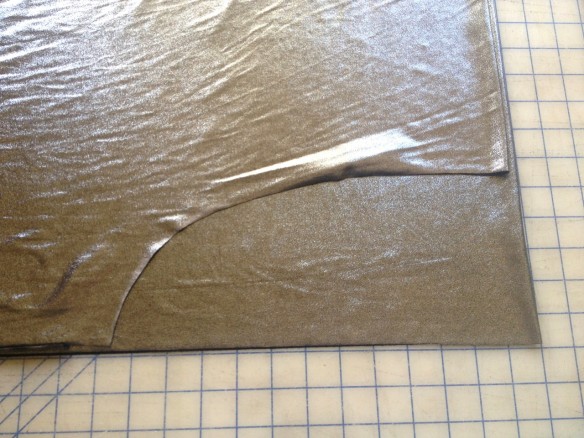
The shallower front crotch is used as a guideline for the back scoop. I laid the front piece on top of the back and then traced that curve.
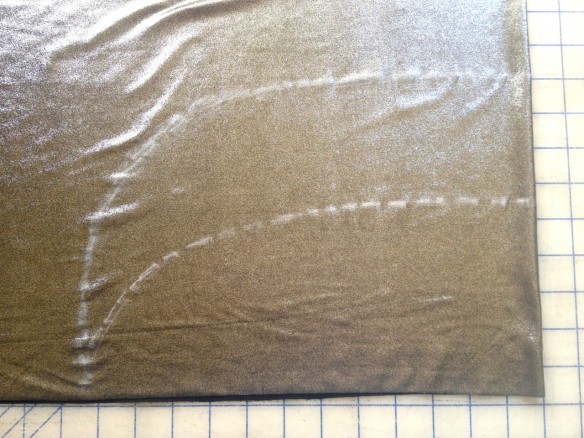
The front crotch is traced in pink, and then I drew the line for the deeper back scoop in blue chalk. Notice that it’s only wider, not lower.
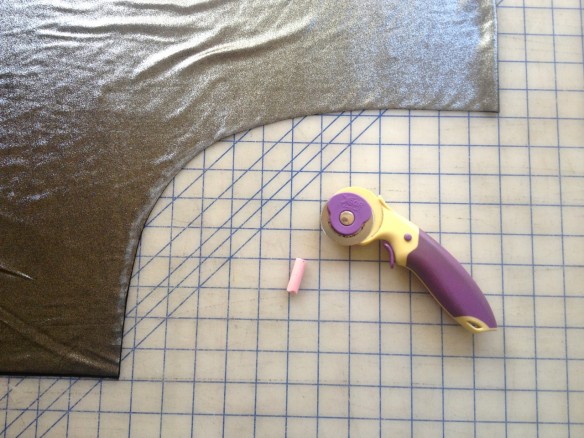
Wider back scoop
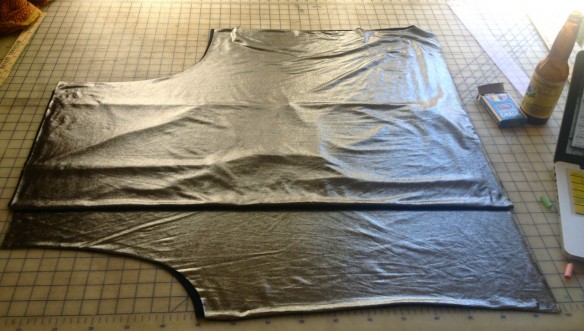
Here’s the whole piece, with 24″ in the center folded (because otherwise it’s too big to photograph on my cutting table.)
Since the fabric has so much stretch and will be holding up a lot of fabric in the pants, I make the waistband about 20% smaller than the actual waist. The length depends entirely on you, but cut it high enough that it can be doubled. In my case, the waistband is 30″ wide and 16″ high (which will be folded down to 8″ on the finished pants)
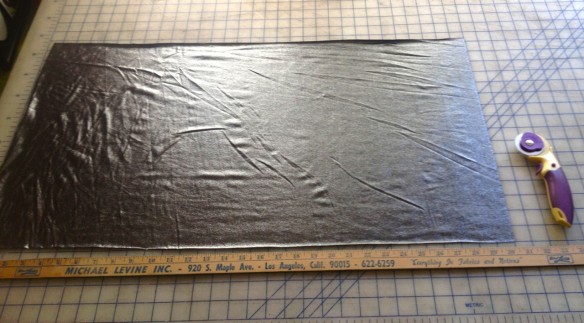
Waistband, 30 x 16″
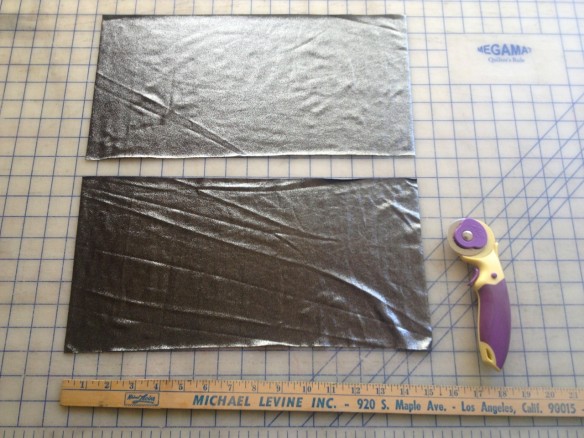
Leg bands, 15 x 8″
The leg bands are just smaller versions of the waistband. Mine are 8″ high (to be doubled over to 4″) and 15″ wide.
You should have two leg bands (15 x 8″), one waistband (30 x 16″) and two leg pieces, one for the left and one for the right.
STEP 2: SEWING
how to make genie pants, Made by Julianne
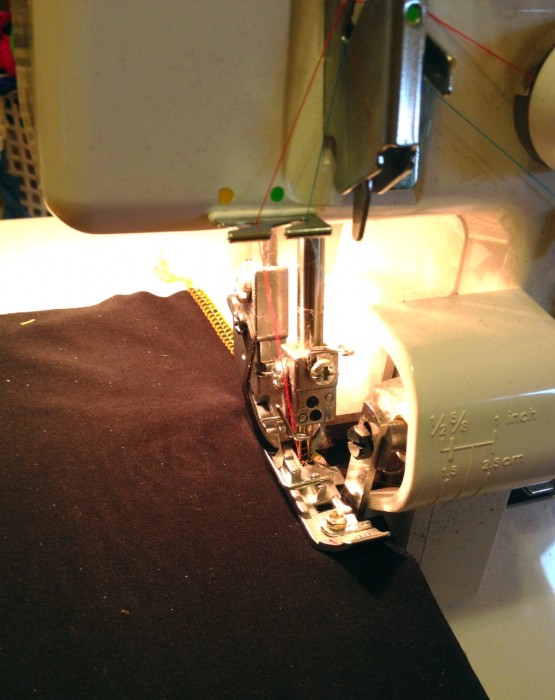
Now to the sewing! I sew the seams on my serger, and use my regular machine for the gathering stitches. If you don’t have a serger, use a zigzag or 3-step zigzag to give your seams enough thread to stretch.
I’m illustrating these steps using the smaller leg bands, but the process is the same for the waistband as well.
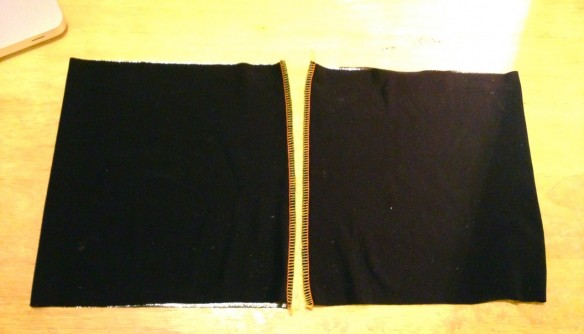
A: The two leg bands, side by side
Sew the waist and leg bands each into a tube. Take this opportunity to test that the pieces are the right size for your body. You want the waistband to be tight enough to hold up the pants securely, but comfortable for lounging and getting bloated from all the beer and crackers. Likewise for the leg bands, but maybe your calves don’t get bloated so just make sure that they fit your leg snugly. Fold the bands over, wrong sides together, and pin the raw edges. I like to place my pins in quarters (dividing the entire circumference into 4 segments) to help with the gathering later.
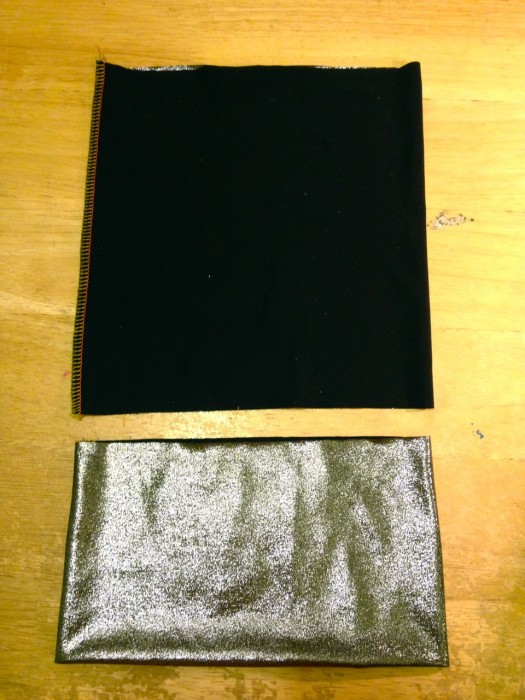
Top: leg band from step A. Bottom: the leg band has been folded with its wrong sides together to that the raw edges meet. The seam is vertical, along the short edge.
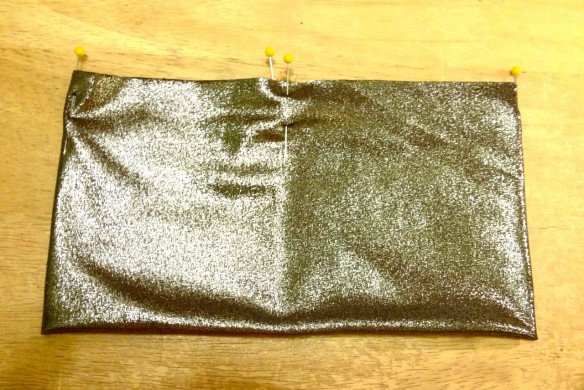
The leg band is pinned with raw edges together, right side out, and the raw edges are marked into quarters with pins.
Set the leg and waist bands to the side for now.
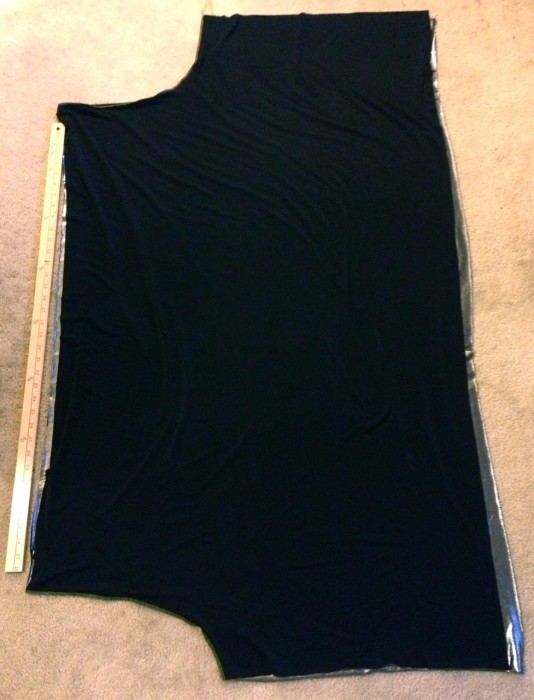
how to make genie pants, Made by Julianne
Then I sew the front crotches together, then the back center seam, and then the inseam as one long seam.
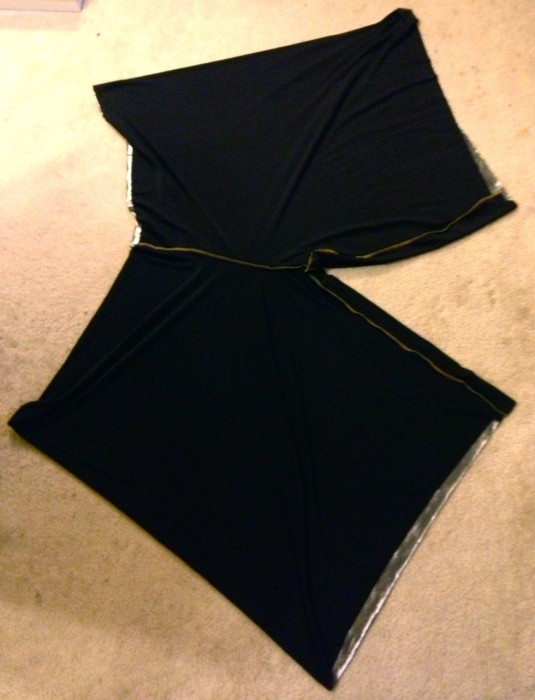
Crotch and inseams sewn together, and now they are starting to resemble pants!
Mark the top and legs of the pants with pins (dividing the circumference by 4).
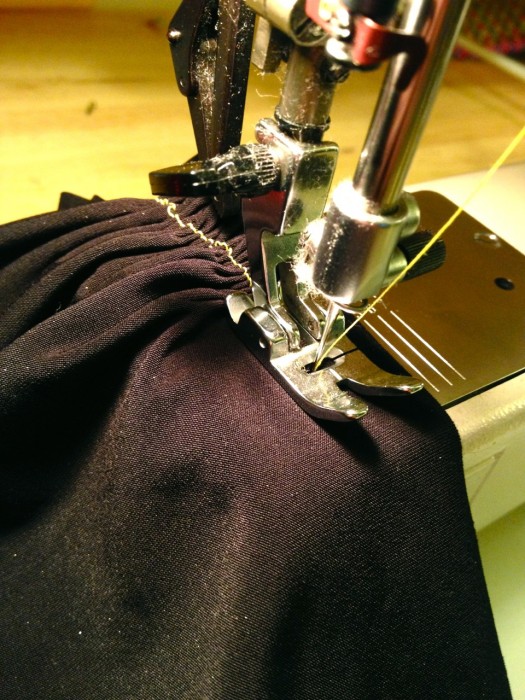
Gathering the fabric at the top and bottom of the pants
Next comes gathering! I’ve done this step in so many different ways, but I feel that simply sewing a long seam with low top-thread tension is the easiest. I like to use different color threads for the top spool and bobbin. I don’t have a ruffle foot because I don’t do a lot of gathering, and this works for me. Usually this tension gathers the fabric right behind the foot automatically. And so: sew the top of the pants and the bottom of each leg.
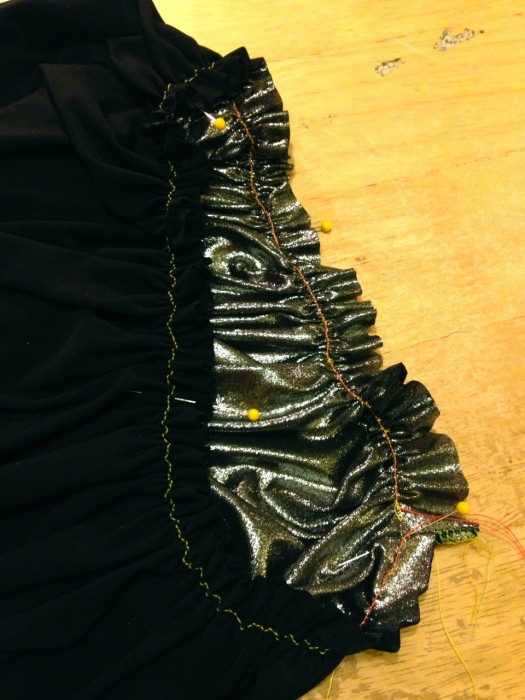
Gathered pant leg, with pins dividing the opening into quarters
Pull the thread to gather the fabric so that it’s about the size of your waist and leg bands.
Pin the leg bands onto the bottom of the legs, right sides together, aligning the band seams with the inseam and the other pins. Repeat for the waistband.
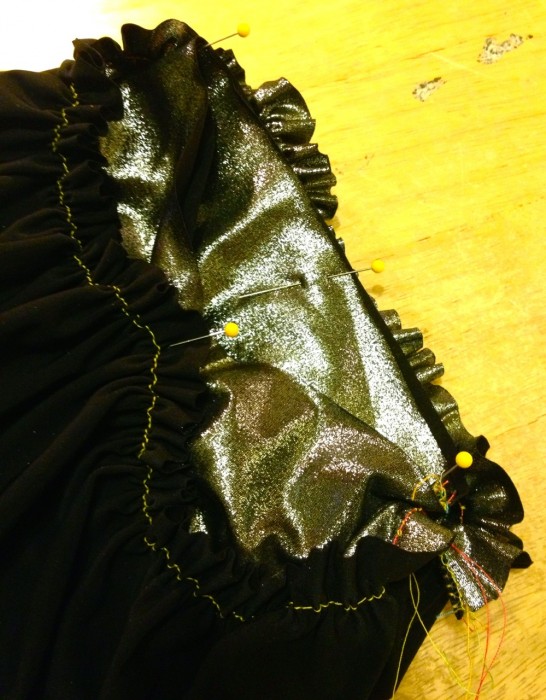
The leg band is pinned to the gathered pant opening, with the quarter-pins lined up.
Sew the gathered pant opening onto the leg bands. Your seam should be along the gathering line. Once you stretch this seam, the gathering straight-stitch will pop, as it should.
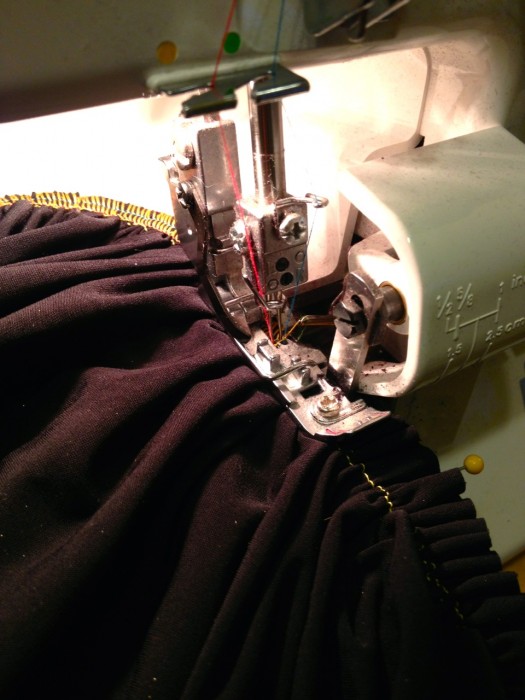
Serging the gathered pant leg (top) onto the leg band. The pin is about to be pulled out before going under the knife.
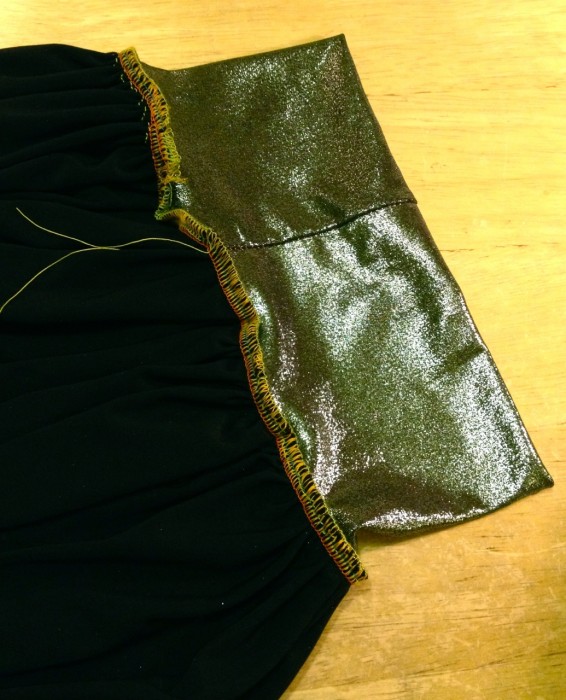
how to make genie pants, Made by Julianne
Repeat for the other leg band, as well as the waistband.
AND YOU’RE FINISHED.
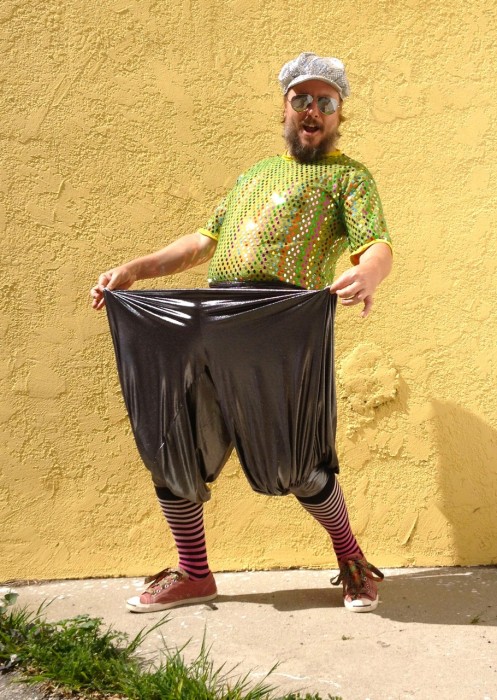
I don’t add pockets in my stretchy pants because the weight inside them would pull the fabric in all kinds of crazy ways. I have done it with woven pants, and here’s how: Cut the legs as four pieces (right front, right back, left front, left back) and then just sew a pocket into the seam. You could also sew the top of that pocket into the waistband seam, for added stability.
If you’re interested, you can see more photos of the finished pants.
